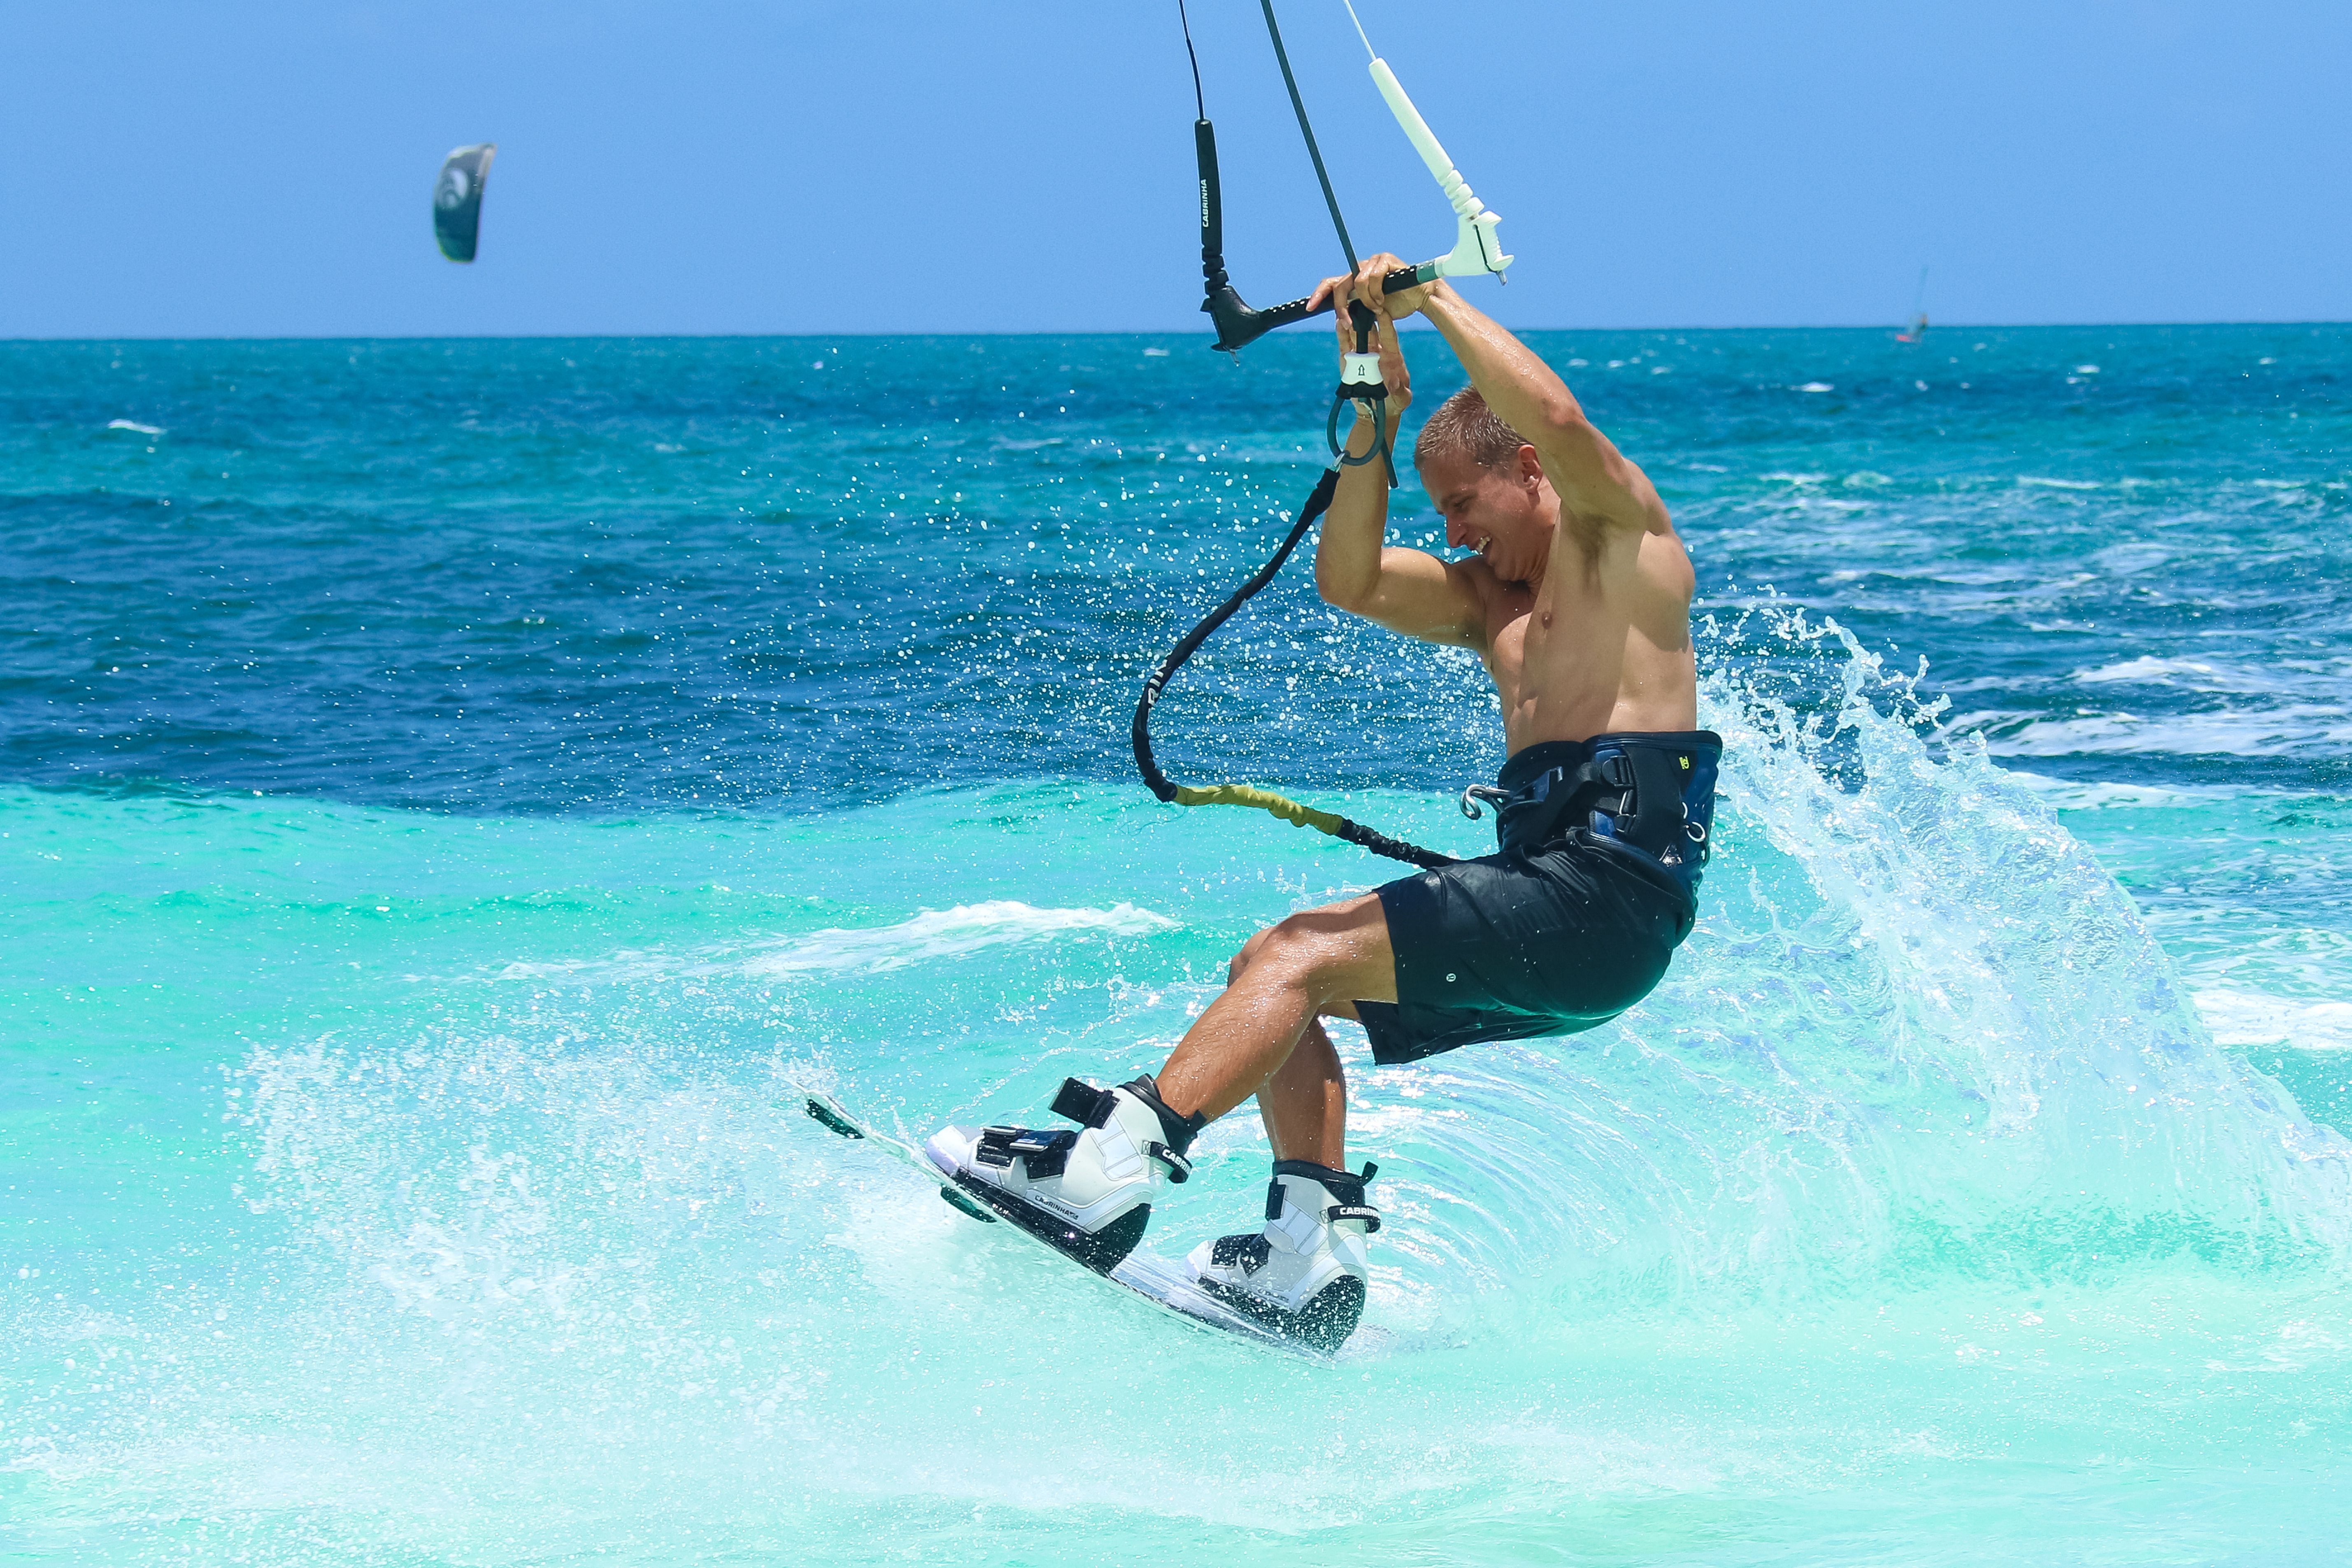
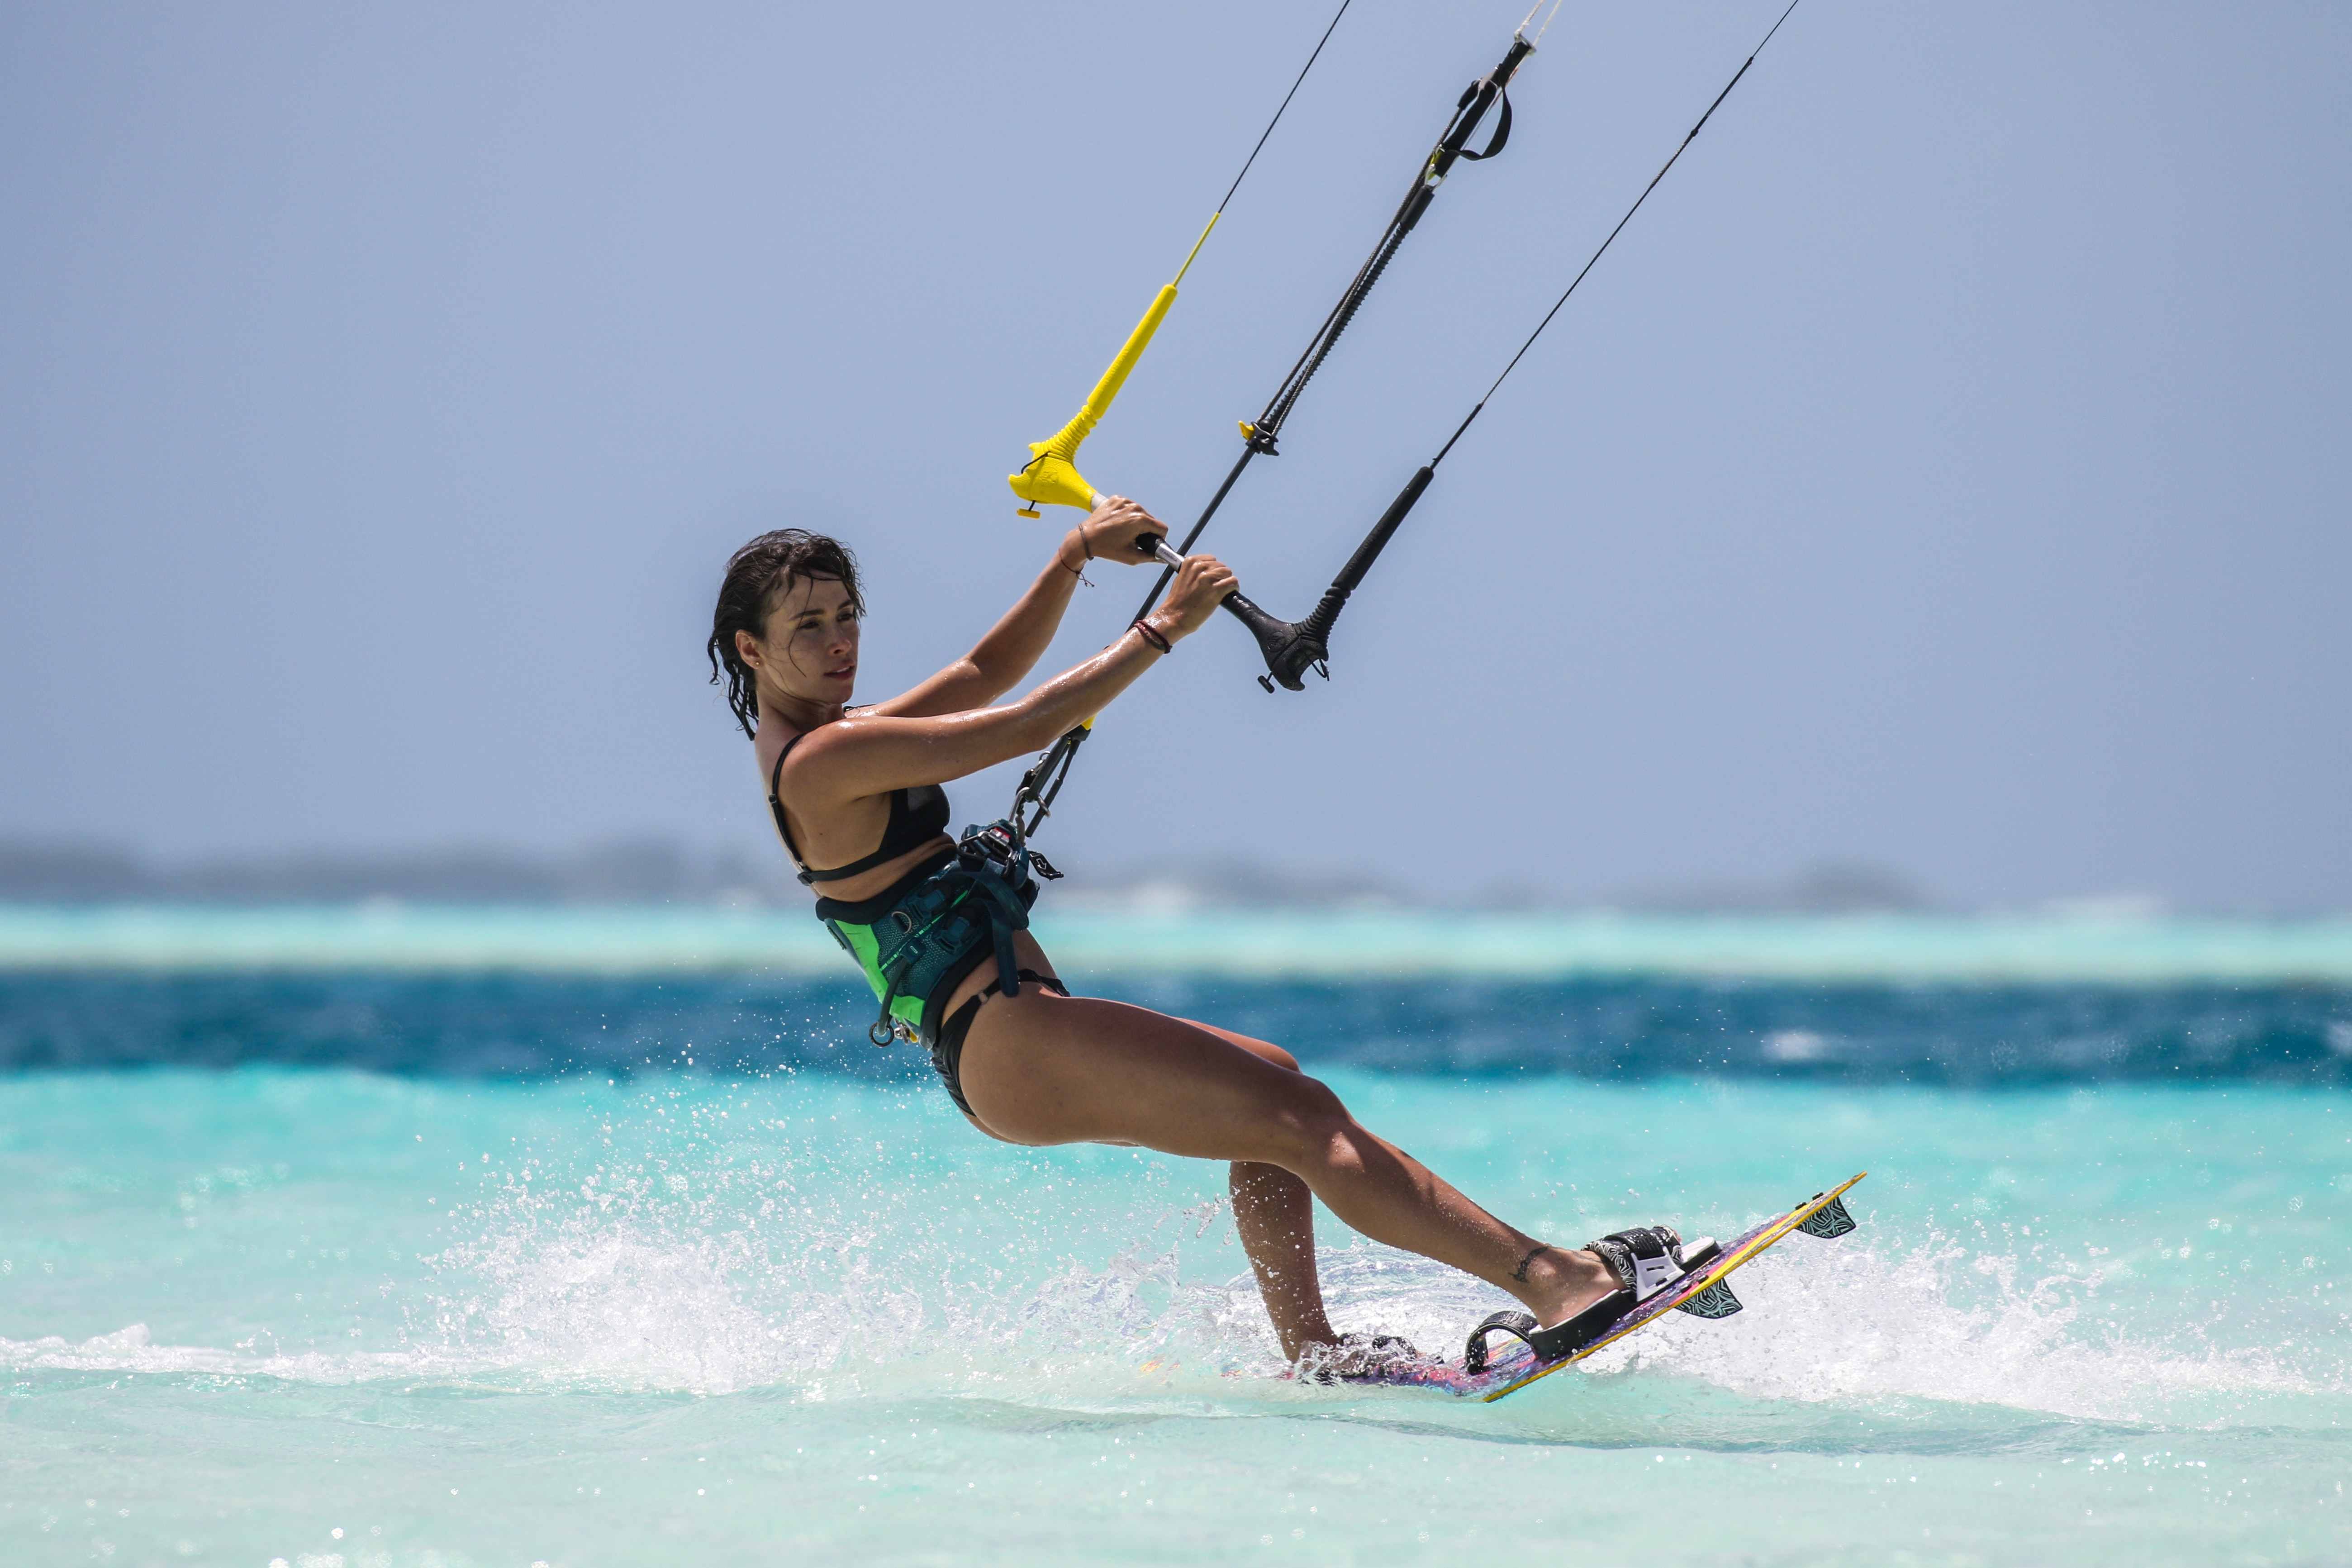
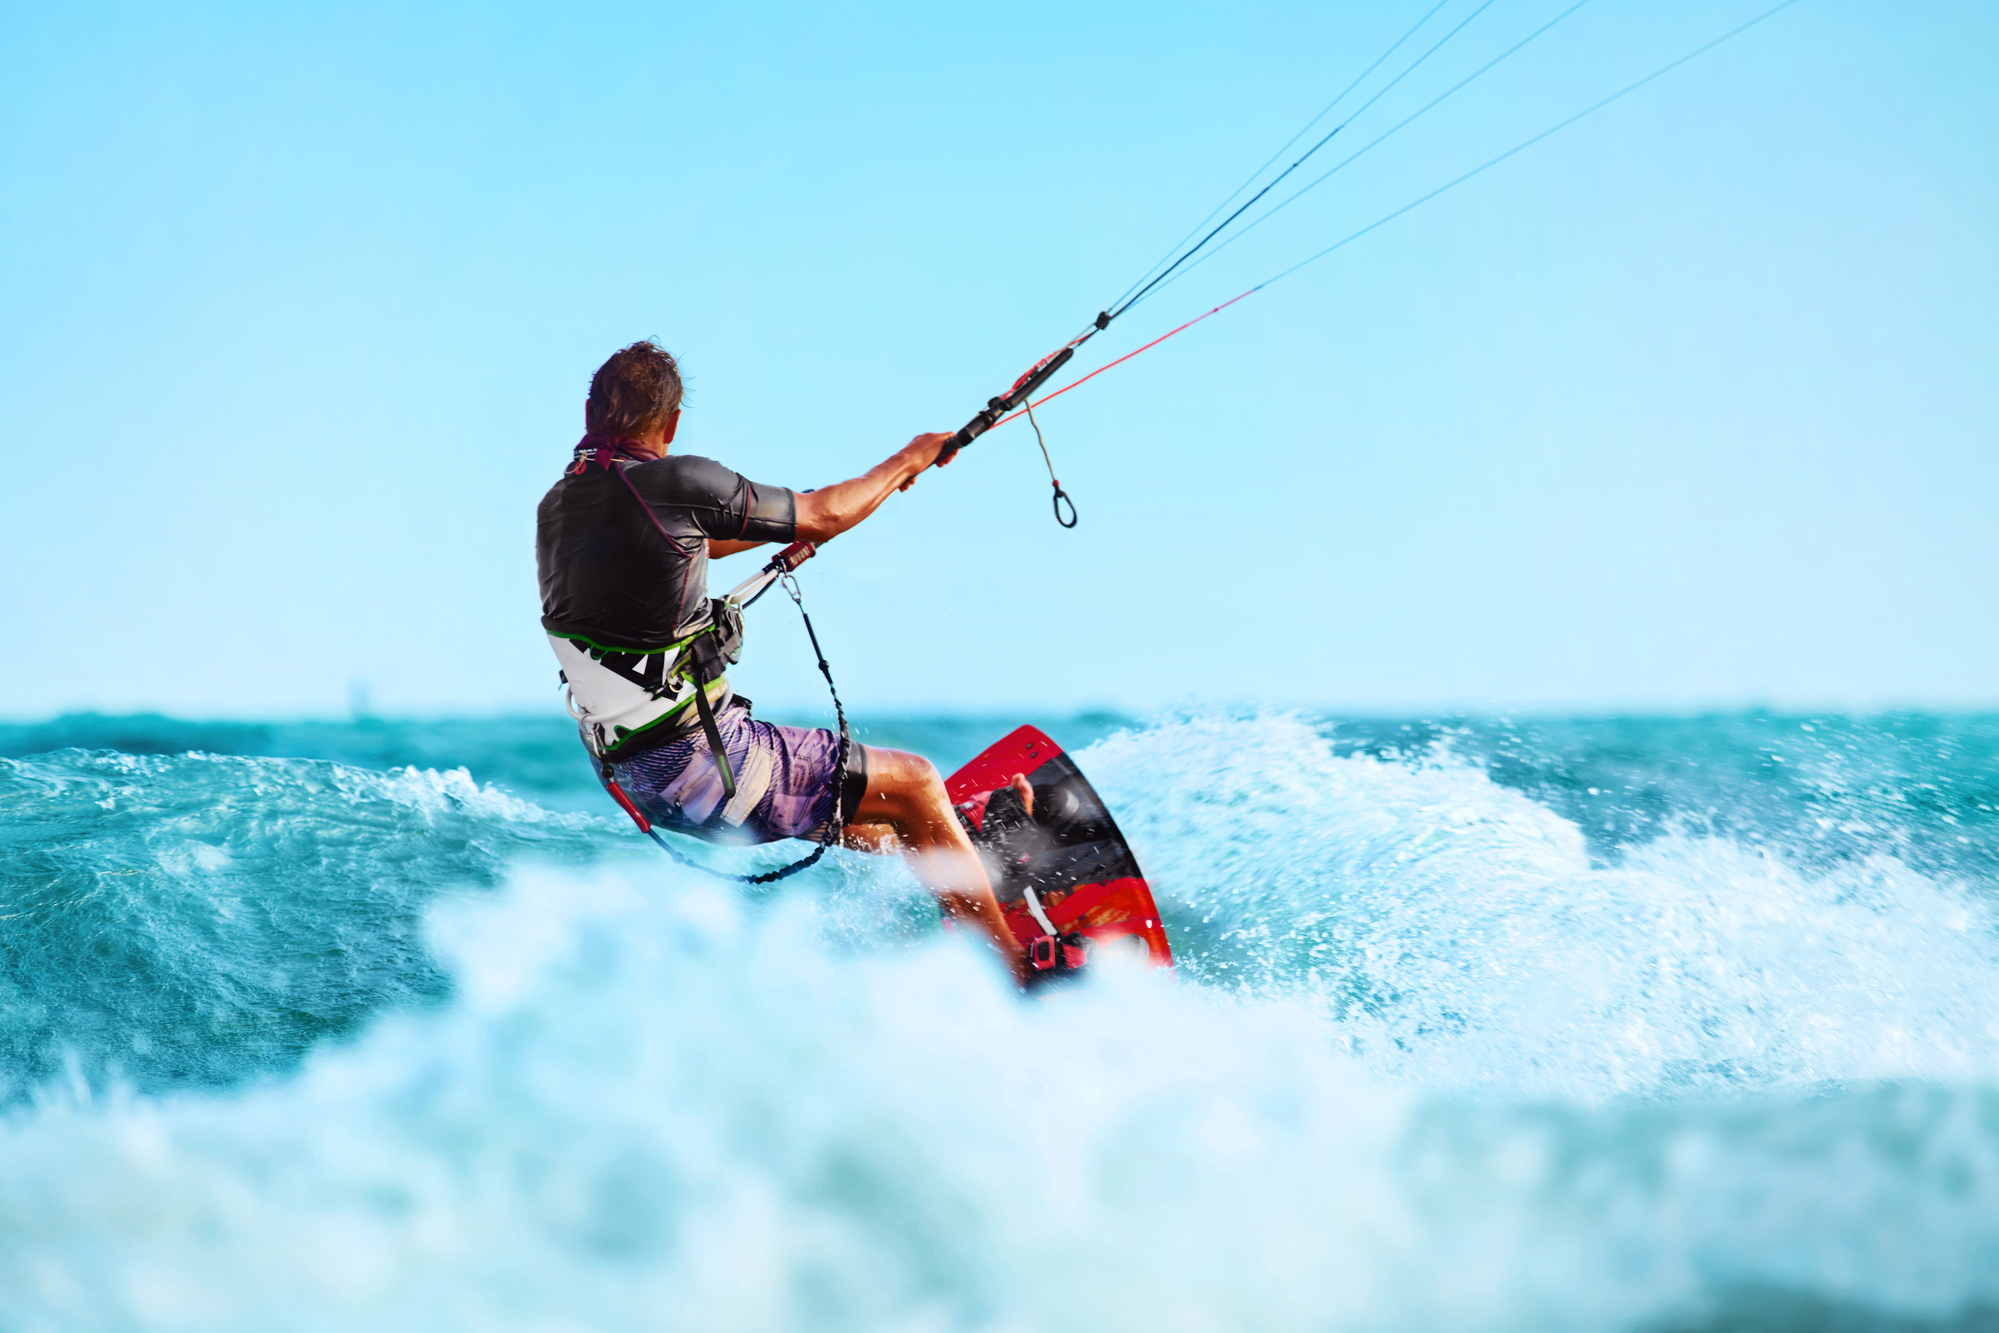
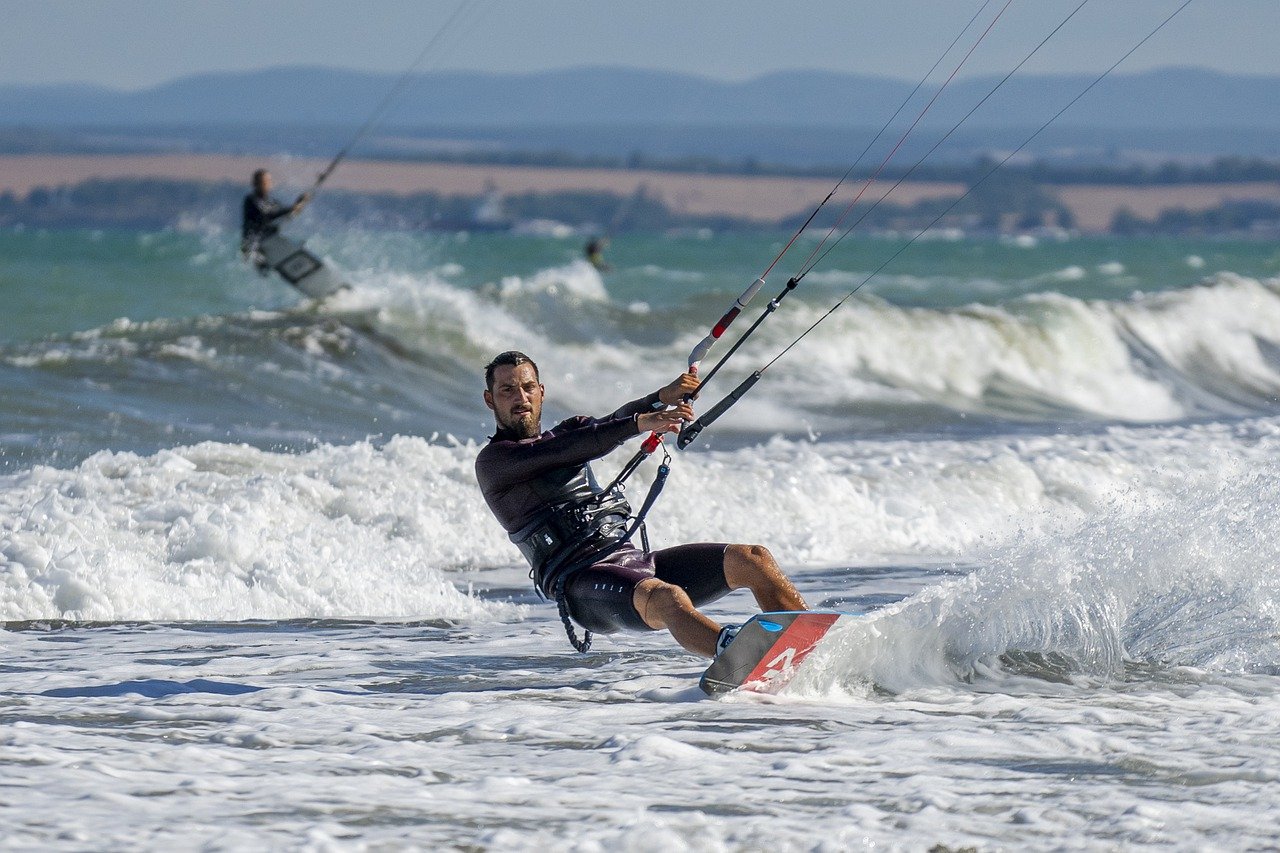
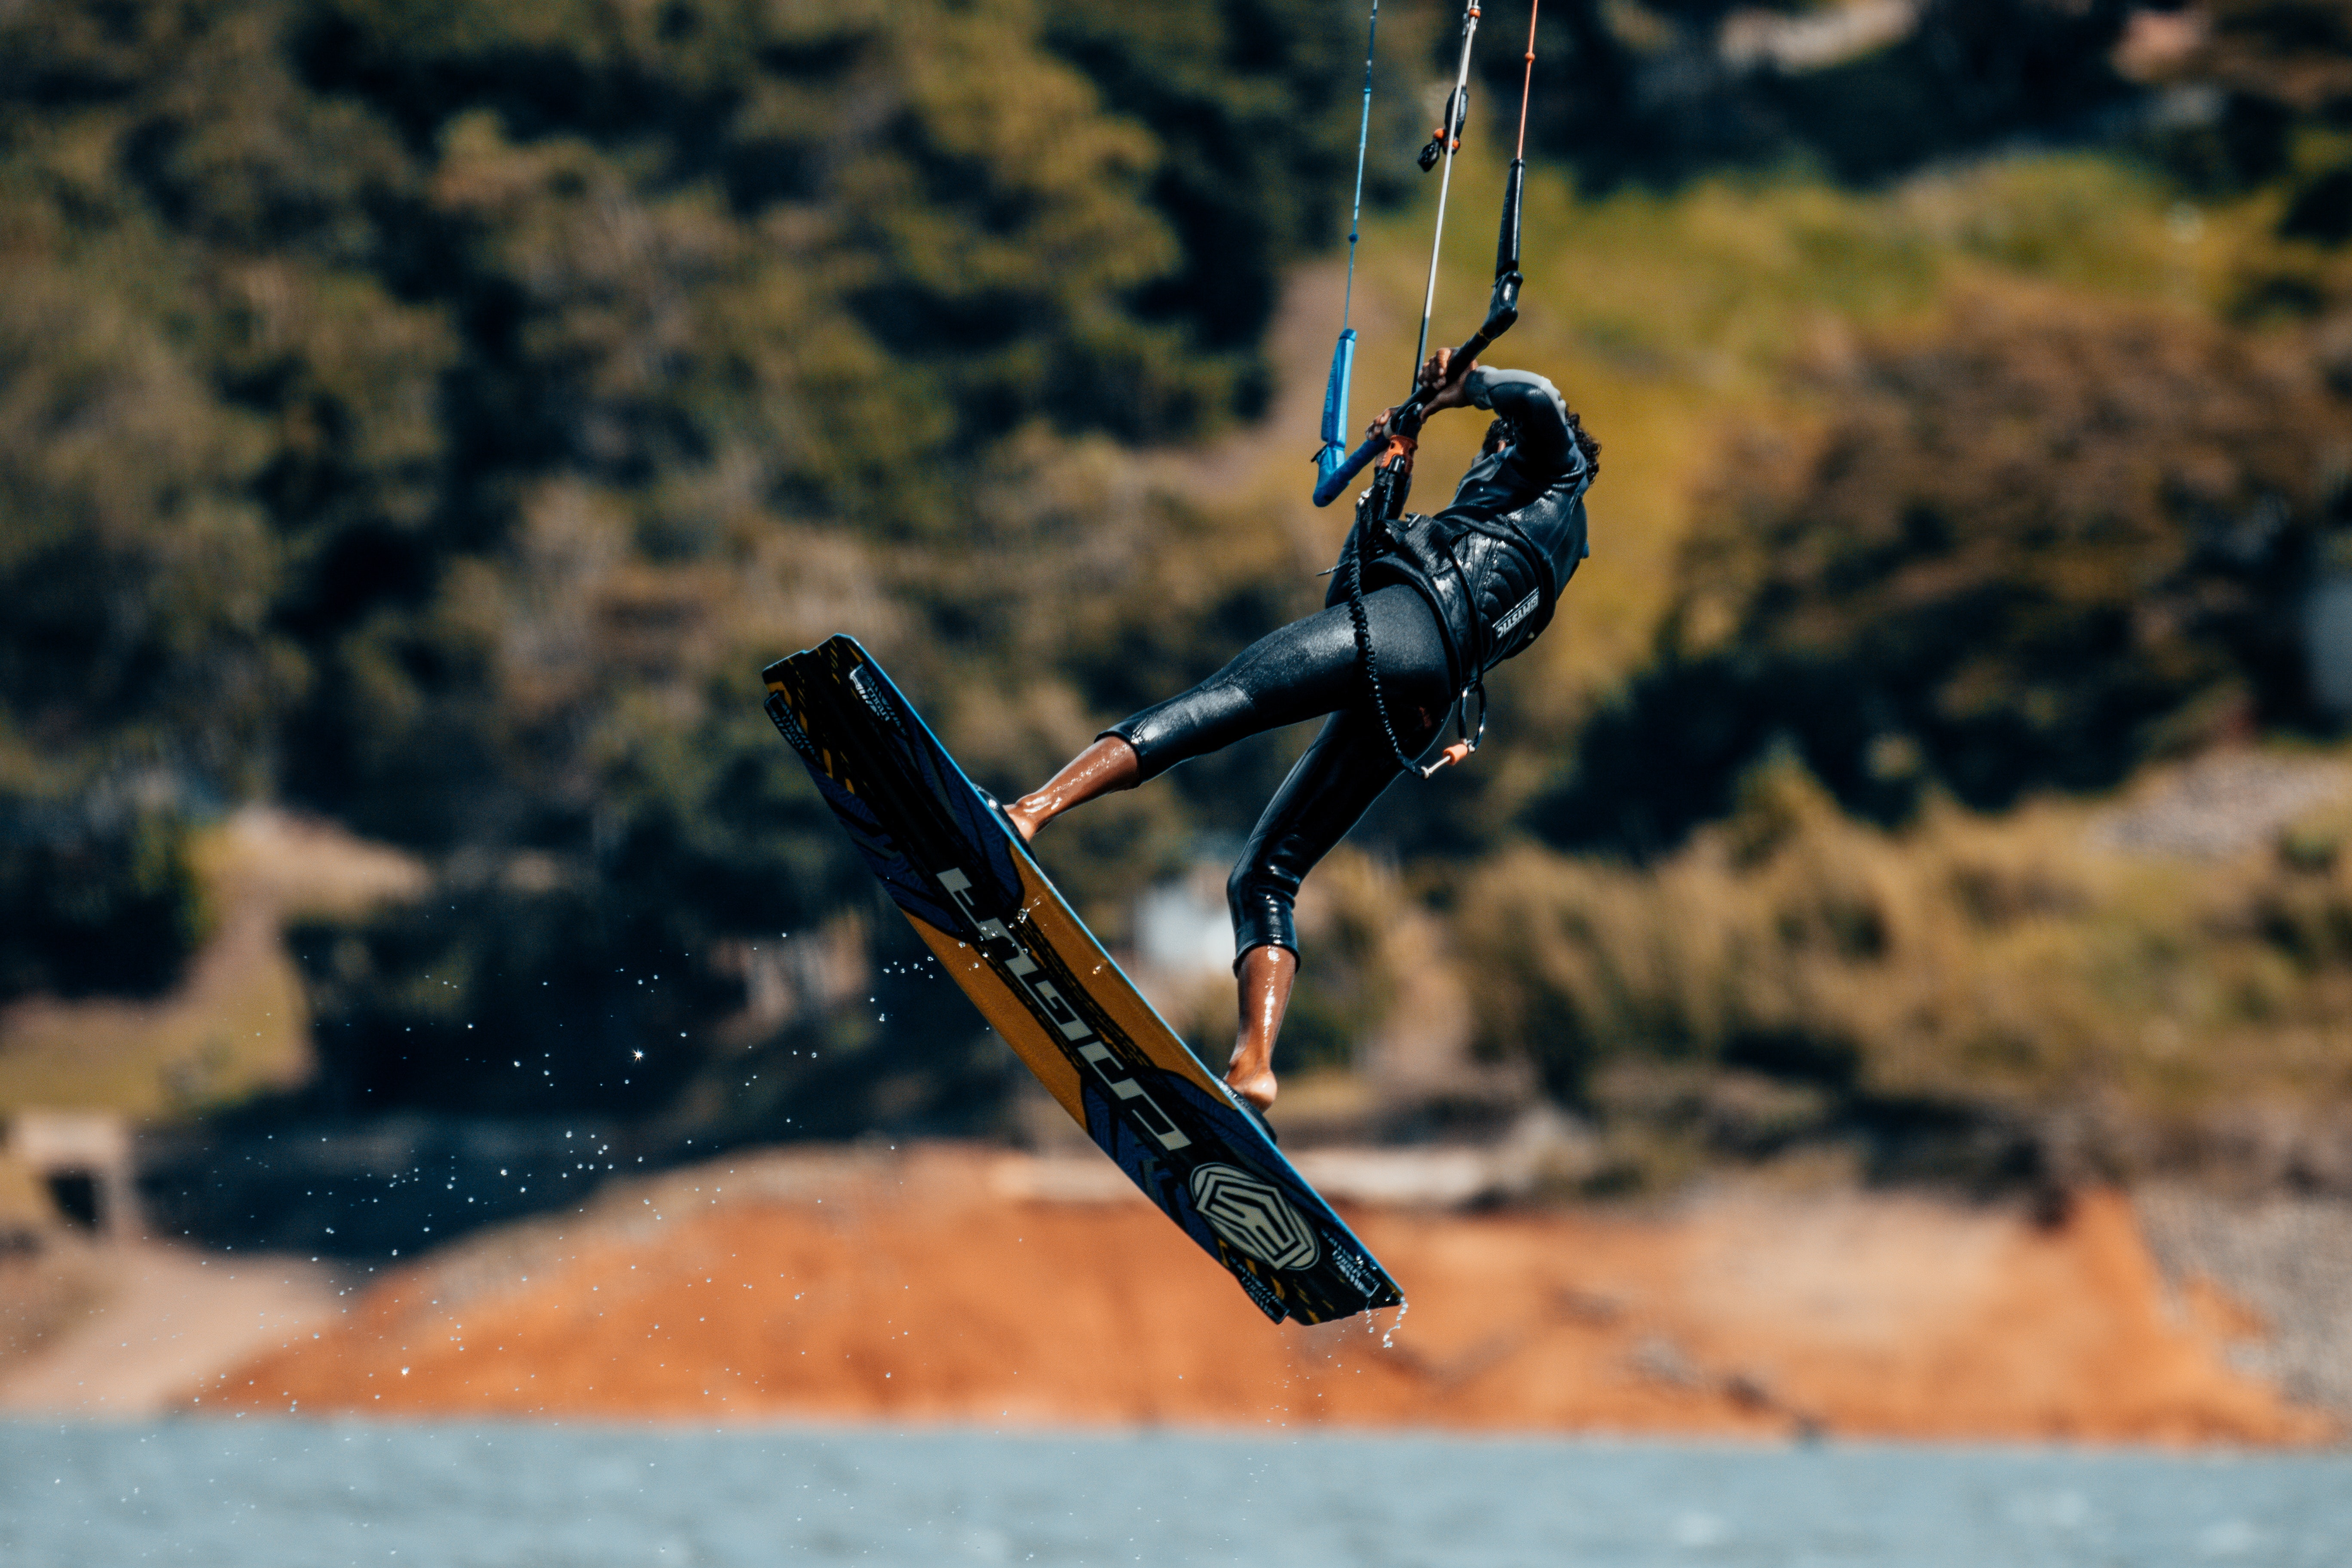
Kiteboarding is a thrilling water sport that can provide hours of fun for people of all ages. But if you're just starting out, one of the most important things you need to learn is how to trim your kite.
If your kite isn't trimmed correctly, you'll have a hard time staying in the air - and that's definitely not something you want when you're trying to catch some waves!
This article will walk you through the basics of kite trimming. By following these simple steps, you'll be up in the air and enjoying the thrill of kiteboarding in no time!
What is Kiteboarding Trimming?
Kiteboarding trimming is the process of adjusting your kite's settings to optimize its performance. There are a few different things you can adjust, depending on what type of kiteboarder you are and what conditions you're riding in.
The three main factors you'll want to play with are:
- The angle of attack
- The bridle length
- The bar pressure
Each of these factors will affect how your kite flies, so it's important to experiment until you find the perfect setting for you.
The goal is to find a balance between all three factors that allows your kite to fly smoothly and stay in the air without stalling. If you can find this sweet spot, you'll be able to enjoy hours of kiteboarding fun!
What Kiteboarding Kite Parts Do You Have to Deal With?
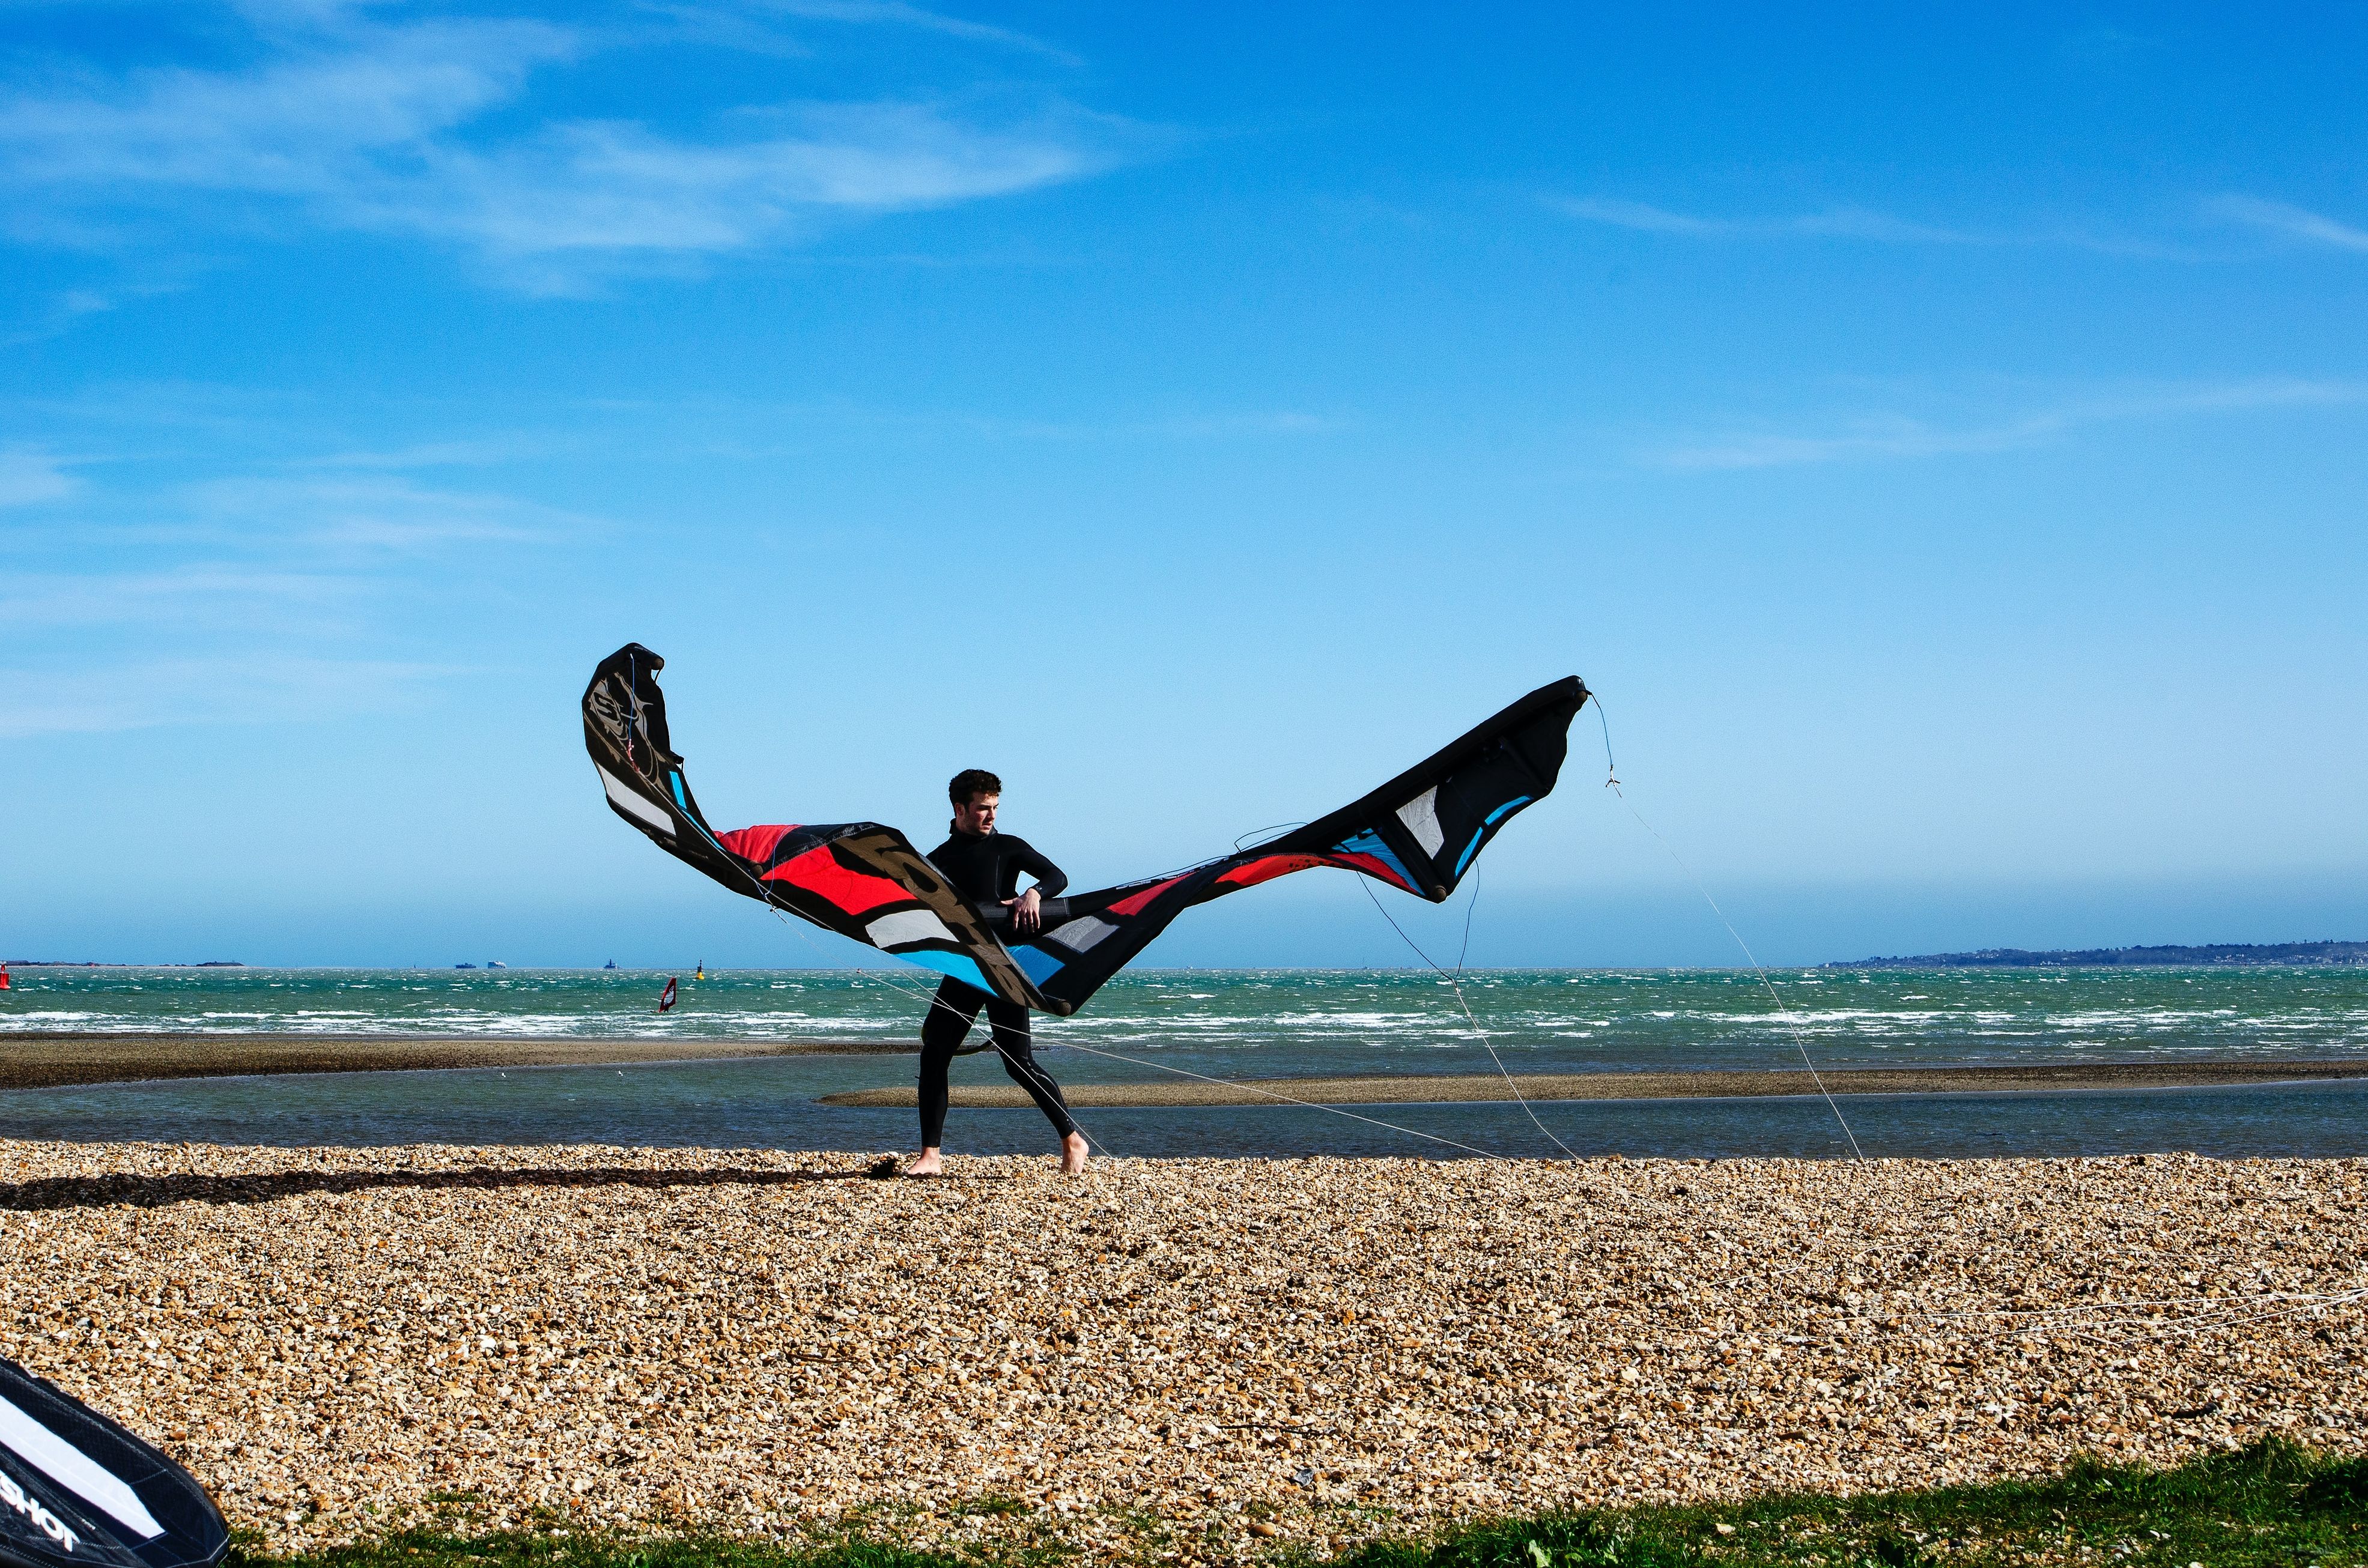
Before you start trimming your kite, it's essential to understand the different parts and how they work together. This will help you make sure that you're making the proper adjustments when it comes time to trim.
Trimming is especially crucial if you're in a flying position or when the wind speed is low.
The main parts of a kite are:
The Parachute
The parachute is the large, fabric part of the kite that provides lift and power. It's what keeps you afloat when you're kiteboarding!
The length of the parachute will affect how fast or slow you fly after you've trimmed your kite. A longer parachute will make you fly slower, while a shorter one will make you fly faster. The parachute also determines how stable the kite will be in the air.
A stable kite is easier to control, while an unsteady one can be more difficult to manage.
The Front & Back Wing Tip Lines
The front and back wing tip lines are the lines that attach the kite's parachute to the kite's control bar. These lines are what you'll use to control the kite when you're kiteboarding.
The length of these lines will affect how much power you have when you're flying your kite. The fuller they are, the wider your turn is. The narrower they are, the sharper your turn will be.
That's why it's essential to make sure that these lines are trimmed correctly - you don't want to end up with a kite that's difficult to control!
The Front & Back Bridle Lines
The front and rear bridle lines are the lines that keep the kite balanced in flight.
When you trim your kite, the bridles may be adjusted to make the amount of power it obtains from gusts of wind more effective. This will change how the kite reacts to gusts of wind, so it's important to get it right!
When you want to launch off the land into the water, you'll need to have a good amount of power. This can be achieved by ensuring that the front bridle line is shorter than the back one.
But if you're already in the water and want to move around, you'll need to adjust the bridles so that the kite has less power. This will make it easier to control and keep you from getting pulled too far out to sea.
The Trim Strap
Finally, the trim strap allows a kiteboarder to change the kite's power by altering the line lengths on the bridles and the parachute.
The trim strap is drawn towards the rider to decrease the kite's power. The front lines are shortened, which lowers the leading edge and makes the kite less efficient in catching the wind.
Pulling on the re-power line, on the other hand, will boost the kite's power because it increases the length of the front lines, making it easier for the wind to pick up.
Do You Trim Your Kite Before or During Use?

Now that you know the basics of kite trimming, it's time to put this knowledge into practice!
But before you start adjusting your kite, it's essential to decide whether you want to trim it before or during use.
Trimming your kite before you start using it is a good idea if you're just starting out. This will give you a chance to get familiar with the different parts of the kite and how they work together.
Meanwhile, trimming during use is a good idea if you're already comfortable with flying your kite. This way, you can make adjustments on the fly and get the most out of your kiteboarding experience!
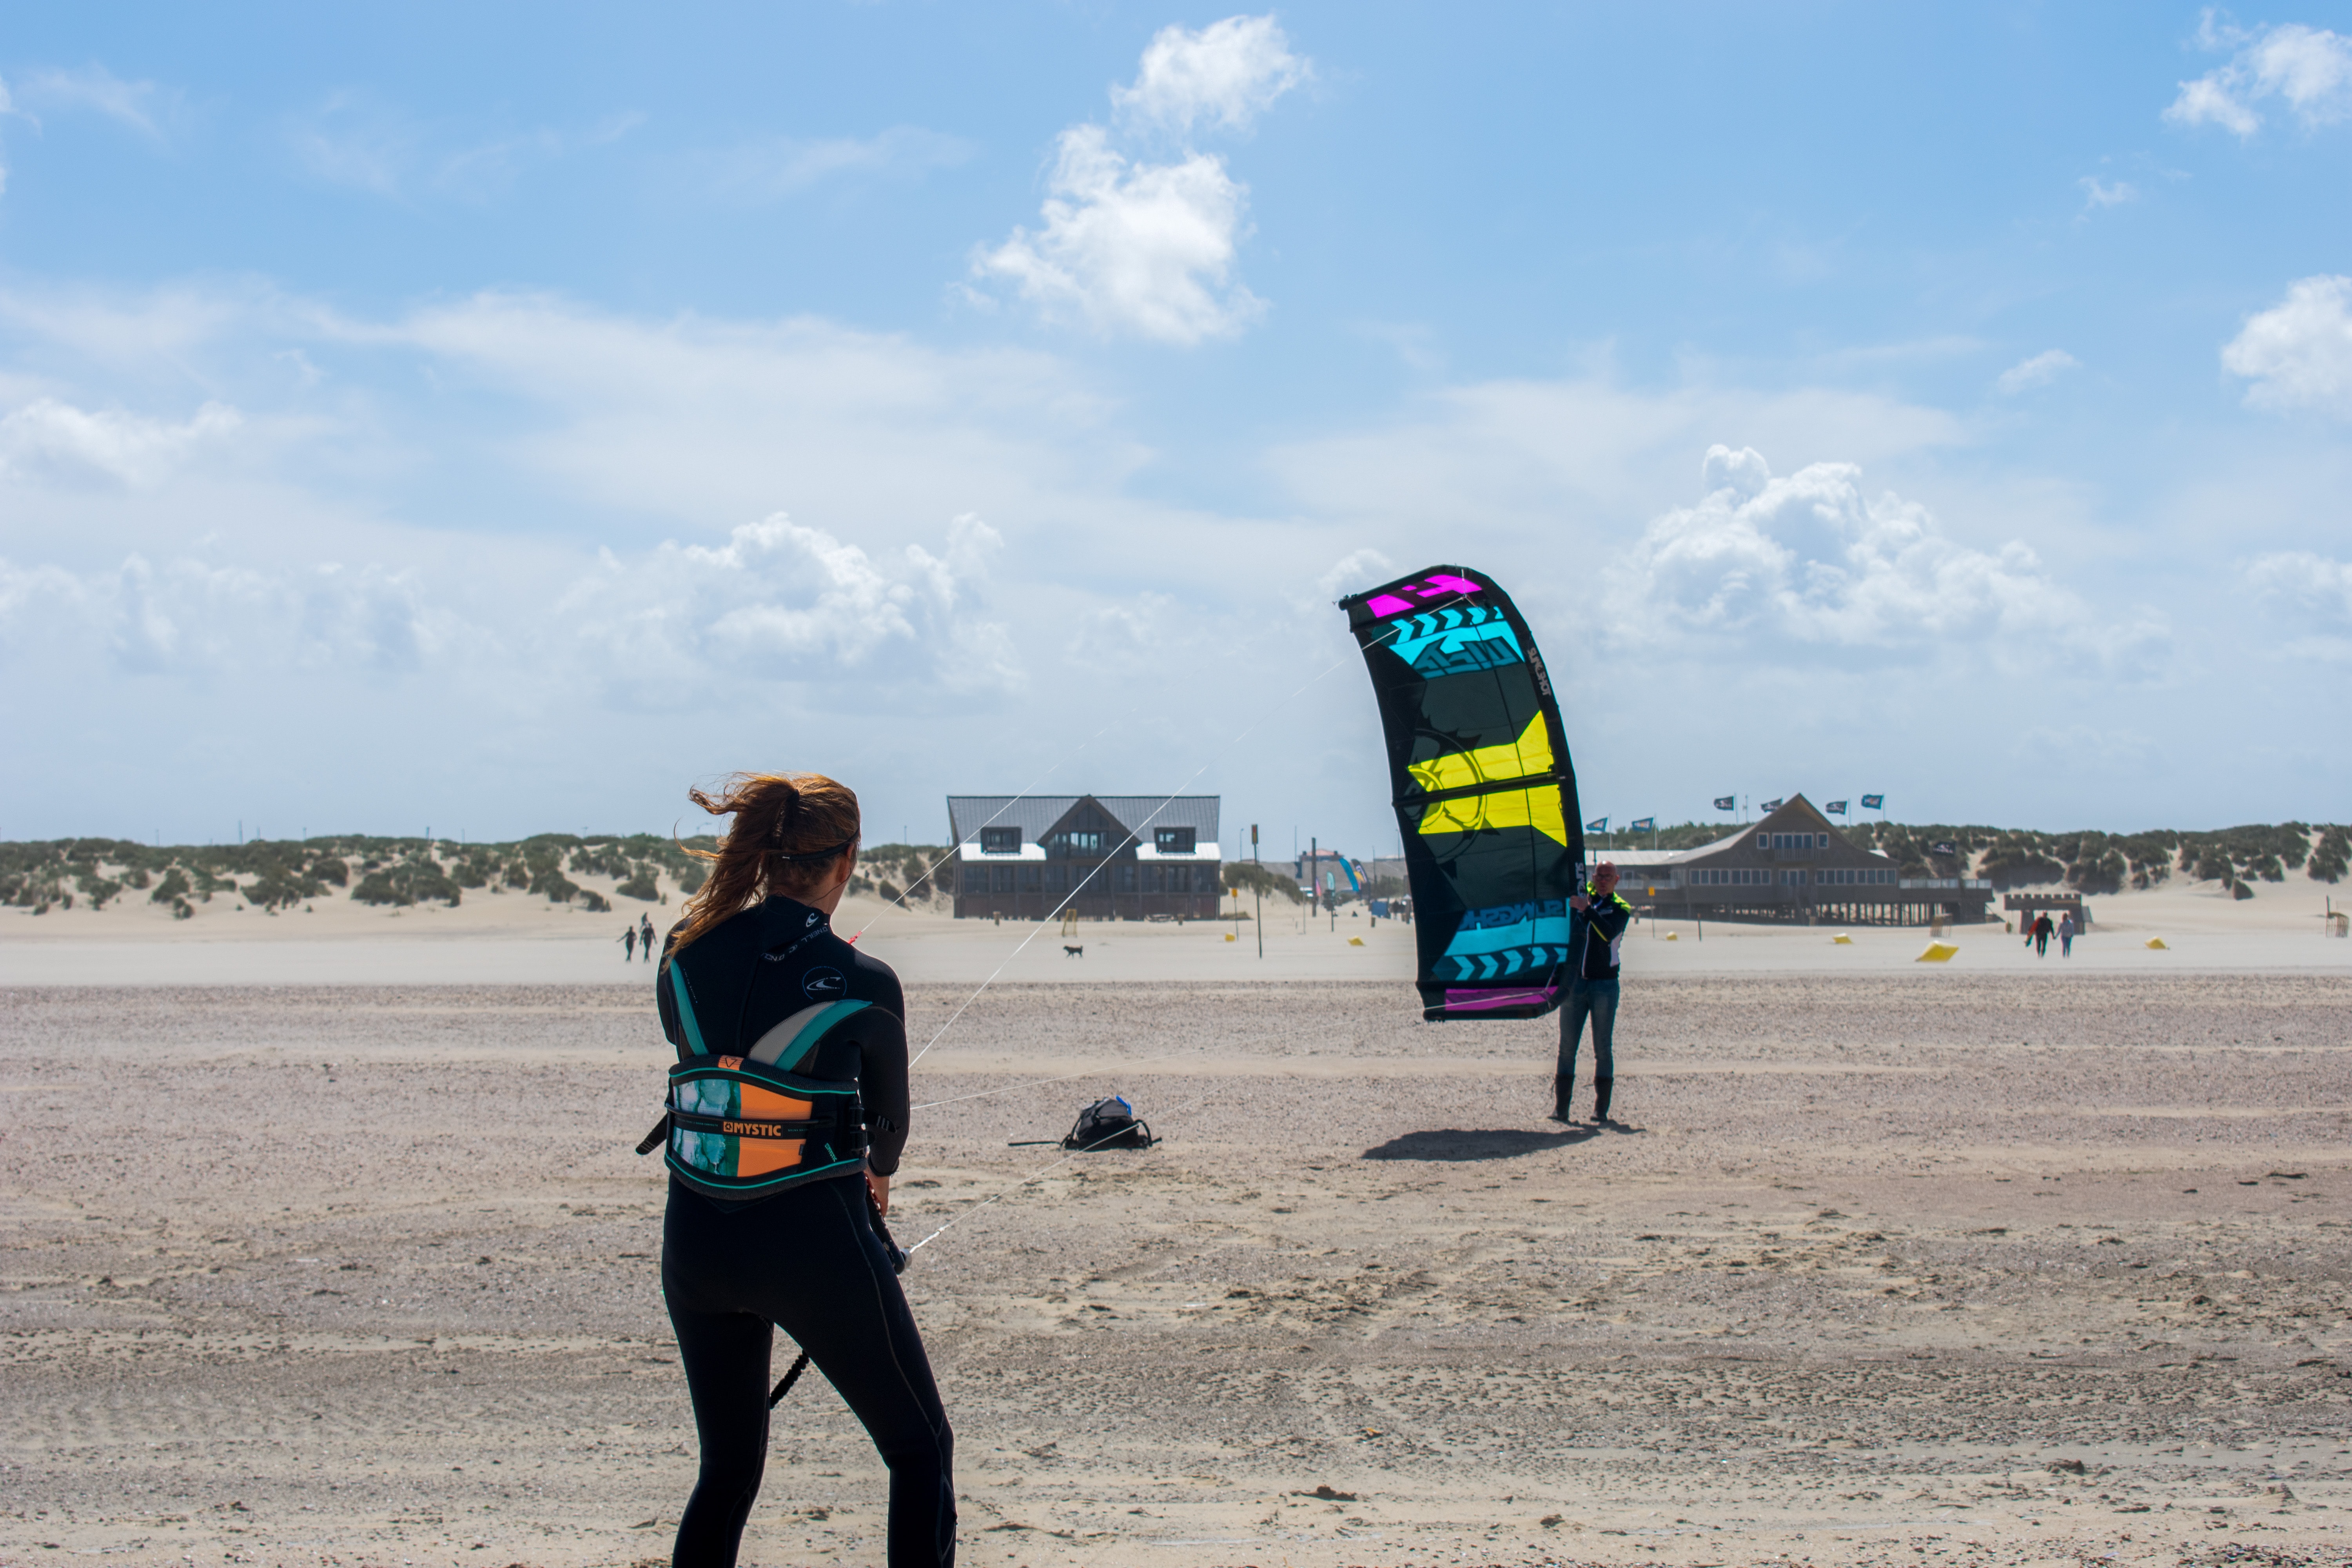
How Do I Trim My Kite Before Use?
STEP 1: Draw up the outlines of your bridles and wing tip controls, double-checking for any knots that need to be undone as you go. Knots will weaken your lines and make them less effective.
STEP 2: After you've finished laying out all of your lines, trim your kite to the desired size using the adjustable bar system. The adjustable bar system is where all of the bridle and wing tip controls are managed.
STEP 3: Seek help from other kiteboarders to see if you've trimmed your kite correctly. It's always good to have another person's opinion, especially when it comes to something as important as kite trimming!
STEP 4: Trim your kite depending on the kind of ride you want. If you want a more powerful ride, trim your kite to make the front lines shorter than the back ones. If you want a more relaxed ride, do the opposite!
STEP 5: Place the adjustable bar system down and adjust the trim line to its maximum power to check for stretch in the bridle and wing tip lines.
STEP 6: Pull the lines taught and see if they all end at roughly the same point. If they do, you're ready to go!
How to Trim Your Kite During Use?
STEP 1: Park your kite, if possible, over water or a big beach. You don't want anything downwind of you that might obstruct the wind or cause you to crash your kite.
STEP 2: At 45 degrees, park your kite and keep it sturdy. If it's a windy day, make sure to keep your kite low so that it doesn't get pulled away.
STEP 3: When you're ready, slowly pull the bar in, then hold it for 10 seconds. Look for the kite and observe whether it begins to drift back into the wind window.
STEP 4: If the kite begins to back stall, push the bar out, and it will fly forward once more.
STEP 5: Pull the bar back in after trimming your kite just a bit. If it keeps backing up, sheet out and have the kite come to the wind window's edge.
STEP 6: Repeat steps 3 and 4 until your kite no longer stalls mid-flight.
When is it Time to Seek Professional Help?
A kite may be beyond repair if broken in such a way that no amount of trimming can fix it. The following are a few signs that you might need to seek professional help:
- Your kite is not responding to the bar adjustments
- You can't seem to get the kite trimmed correctly, no matter how hard you try
- There's something wrong with your bridles or wing tip controls
- The trim line is loose or damaged
- Your kite is not flying in a straight line
- The kite has excessive stretch in the bridles or wing tip lines.
If you're having trouble with your kite and can't seem to fix it, don't hesitate to seek professional help. A good kiteboarding instructor will be able to help you get your kite trimmed and flying like new in no time!
Conclusion
Kite trimming is an essential part of kiteboarding. It's a good idea to trim your kite before you start using it and make adjustments during use.
If you're having trouble with your kite, don't hesitate to seek professional help. With a little bit of practice, you'll be trimming like a pro in no time!
Happy kiteboarding!