Do you love the thrill of balancing on a tightrope? If so, you will love slacklining!
Slacklining is a fun and challenging way to improve your balance and core strength. It's one of the newest and most exciting outdoor activities to hit the scene in recent years.
Slacklining is a great way to improve your balance and agility, and it can be enjoyed by people of all ages.
Whether you're a beginner or an experienced slackliner, there's always something to learn about the sport.
But if you've never done it before, the process of setting up a slackline can seem daunting.
Don't worry. We'll walk you through everything you need to know about setting up your slackline like a pro!
What Materials Do You Need for a Basic Slackline Setup?
The first thing you need to do is gather the necessary materials. For a basic slackline setup, you will need:
1. A length of webbing (also called a line). Slacklines come in different lengths, widths, and thicknesses. The most common length for beginners is 50 feet (15 meters).
2. Two tree slings. Tree slings are loops of webbing that you wrap around the tree's trunk to attach your slackline.
3. A ratchet. A ratchet is a device that tightens the slackline.
4. Tree protection. This is optional, but it's a good idea to use tree protection to prevent damage to the tree's bark. You can buy tree protection pads or make your own from old towels or rags.
How to Choose the Perfect Location?
When you're choosing a location to set up your slackline, there are a few things to keep in mind.
First, you need to find two trees of the same height and about 20 feet (six meters) apart.
The ground should be level and free of obstacles, so you have plenty of room to walk on the line.
It's also essential to choose a soft ground location, like grass or sand. This will help cushion your fall if you happen to lose your balance.
You'll want a spot that's not obstructed by other buildings and where no one will accidentally run into your line or worse, ride into it.
The ground should also be smooth and free of sticks and rocks. If you're setting up in a local park, get familiar with the regulations and restrictions of the area first.
Once you've found the perfect location, it's time to start setting up your slackline!
How to Set up a Basic Slackline?
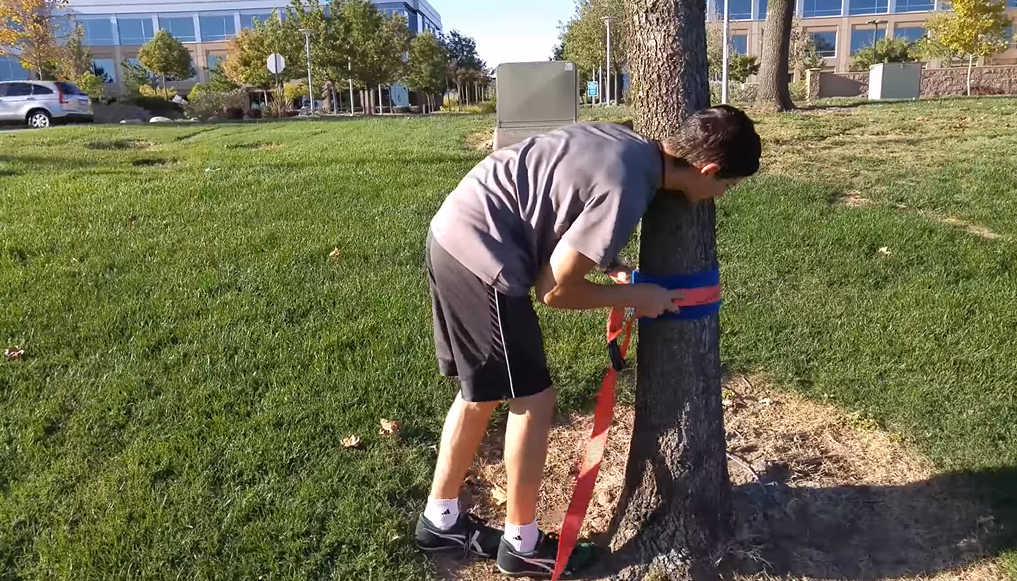
STEP 1: Place the tree protectors around the base of each tree. This will help prevent damage to the bark. Set them up around your knee height.
STEP 2: Next, grab the ratchet. To set up your tensioning anchor, choose the smaller of the two trees.
Because the extension from the ratchet is shorter than the slackline, you'll be able to wrap smaller trees with your ratchet.
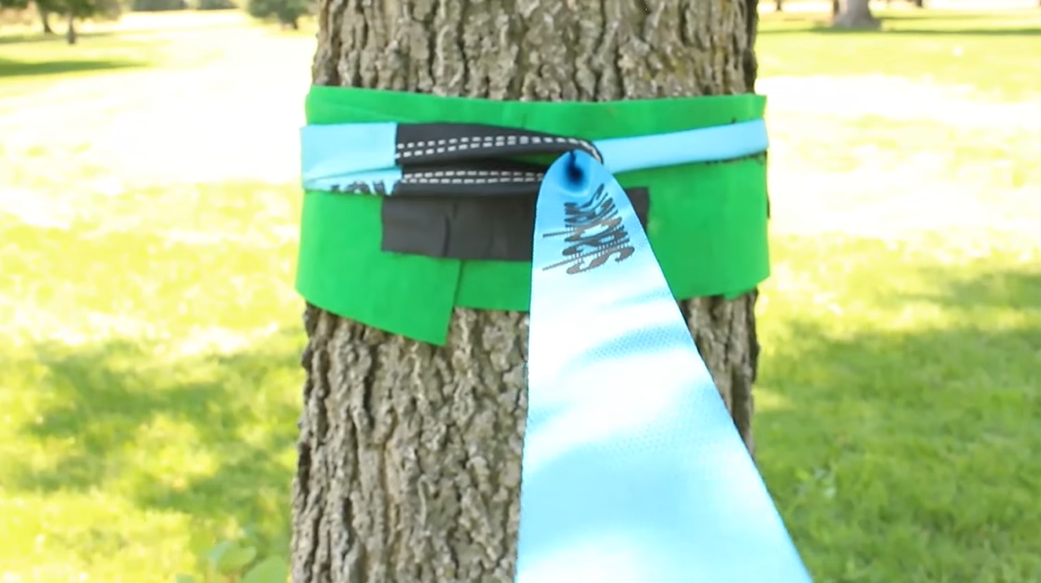
STEP 3: Wrap the sewn loop around the tree, feed the ratchet through, and cinch it down while keeping the ratchet handle down.
STEP 4: Fold the line like a taco in touch with the sewn loop, and fold it about a quarter of the way around the tree. This will guarantee that your line remains flat under tension.
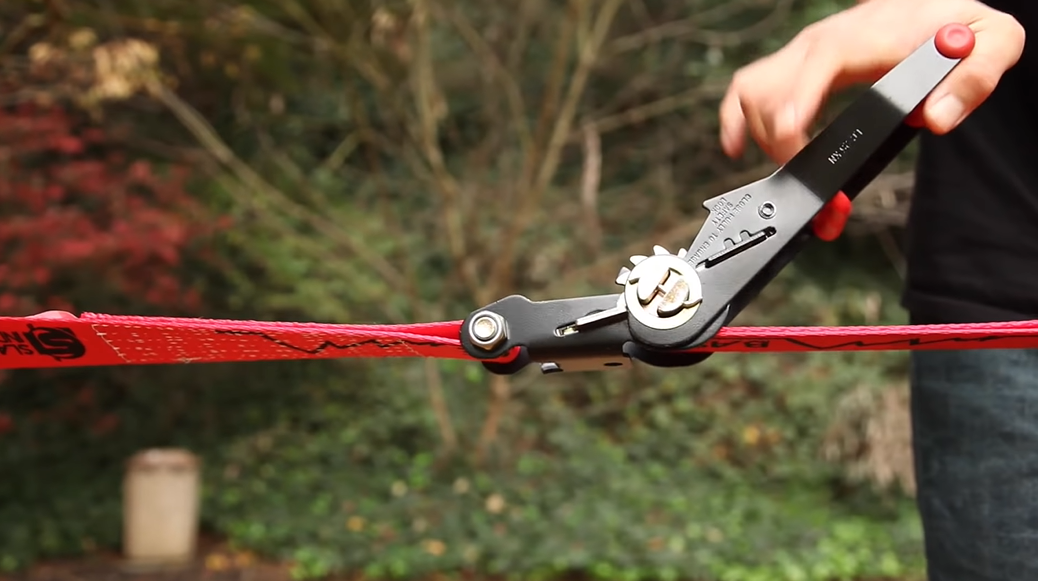
***Note: The ratchet's goal is to pull and retain tension in the slackline. It's critical to keep your ratchet handle down so that your line doesn't twist and get top-heavy.
_There are 3 settings on a ratchet: lock, tension-ready, and de-tension. To change from one setting to the next, simply pull on the arm handle and swing the lever at the same time._
_Ensure the two metal-breaking plates are in good condition and working properly with each use.
_
STEP 5: Finally, wrap the slackline around the adjacent tree in the same way you wrapped it around the first. After you do the same taco fold, roll out your line and walk it over to the other side while holding the line to keep it flat.
STEP 6: To tension your line, first pull the slack out of the line by going through the slit on the spool and then set the ratchet to tension-ready.
Once it is ready, use even pressure to tension your line to your desired level.
The tension varies from person to person, but make sure your line is tight enough to get off the ground in the middle when you stand up. While you wait in line, leave the ratchet in a locked position.
How to Set Up a Helpline?
A helpline is an additional tool and balance aid for beginner slackliners. It keeps you
from falling off while getting used to the feeling of balancing on the line.
A helpline is also excellent for young kids who want to try slacklining but may be too small or light to hold their own body weight on the line.
Here's how to set up a helpline:
STEP 1: The ideal height of the line is just above your fingertips when you reach out while standing on the slackline.
Wrap the tree protection on both sides at the desired height once you've determined where you want it to be set up.
STEP 2: Next, wrap the larger two webbing sections around the tree. Insert it through the sewn loop and pull through all the slack.
STEP 3: Follow the end around the tree, keeping it flat. Repeat this process with the other webbing that has the two d-rings attached.
STEP 4: Feed the line's end through both rings, then wrap the tailback around and come through only one ring. Pull the rope through the d-rings until tight.
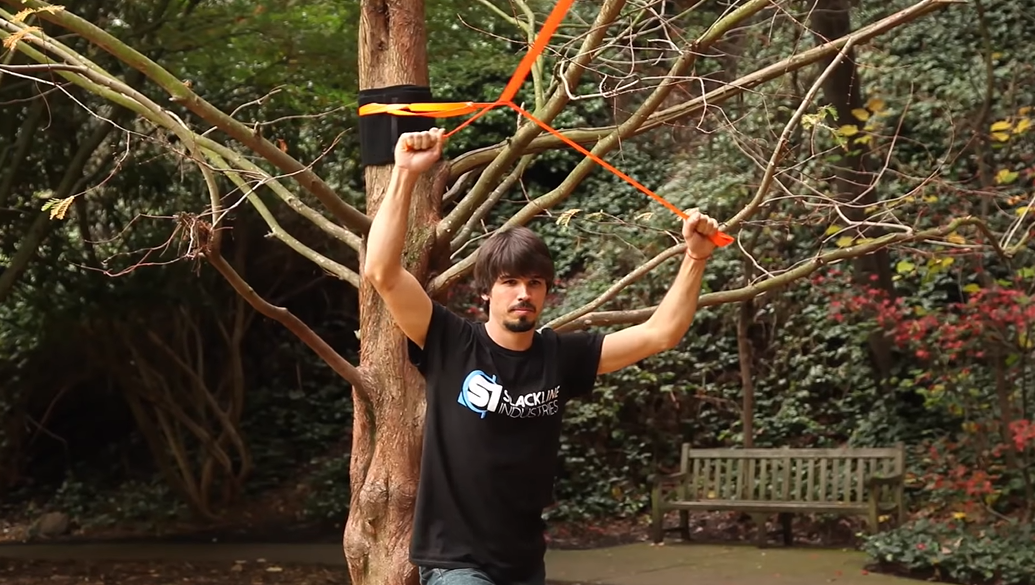
STEP 5: The arm position trainer is the final strap in the harness. Grab one end, toss the other over the line, and grasp it with your other hand.
Your arms should be at a 45-degree angle when your arms pivot around your head with the arm position trainer.
STEP 6: Do not grab both ends of the arm position trainer. Only one end should be grabbed using the other hand to obtain a 45-degree angle between your hands. In addition, do not grab the helpline directly, as this will put both your arms in a poor balancing position.
How to De-tension the Slackline
Go back to the ratchet when you are ready to de-tension your line.
STEP 1: Take the ratchet out of the locked position and flip it right side up. Still holding the arm and release handle, push them both all the way until you feel and hear a loud snap.
Doing this will disengage the teeth on the ratchet so it can freely spin.
STEP 2: Now, while holding onto the arm, use your other hand to grab the release handle and spin it counterclockwise until all of the slack is out of your line.
You'll know it's completely de-tensioned when you feel no resistance when you pull on the line.
STEP 3: After you're finished de-tensioning your line, put the ratchet back in the locked position by flipping it over and inserting the arm all the way until you hear a click.
This will ensure that your line stays tight and doesn't get tangled while not using it.
Conclusion
Setting up a slackline may seem like a daunting task, but following these simple steps will help you get started in no time.
Remember to be patient, take your time while setting up, and always practice safe slacklining!
With a little bit of practice, you'll soon be slacklining like a pro.
Happy slacklining!