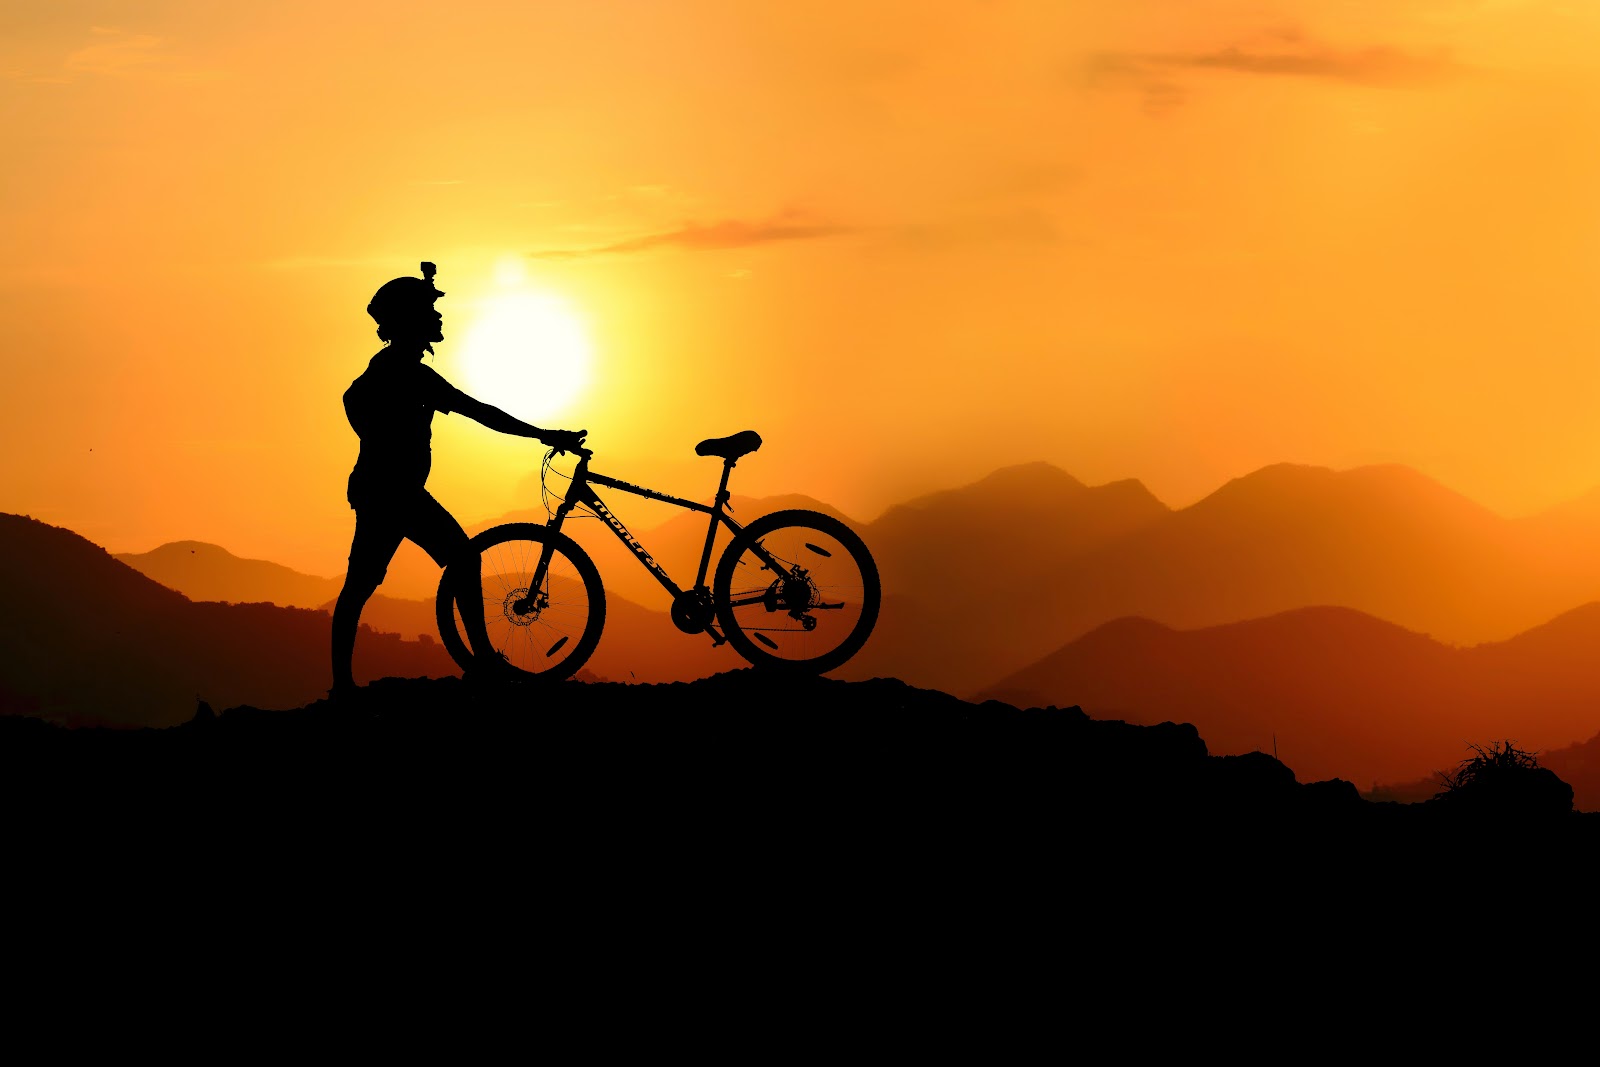
While regular mountain biking is already a fun and awesome experience in itself, going for a mountain bike ride at night completely ups the ante. There is a special sense of freedom and peace that can’t be matched while you navigate the terrain at night with only the natural light of the moon and stars as your guide.
However, you shouldn’t just rely on natural light to illuminate your way.
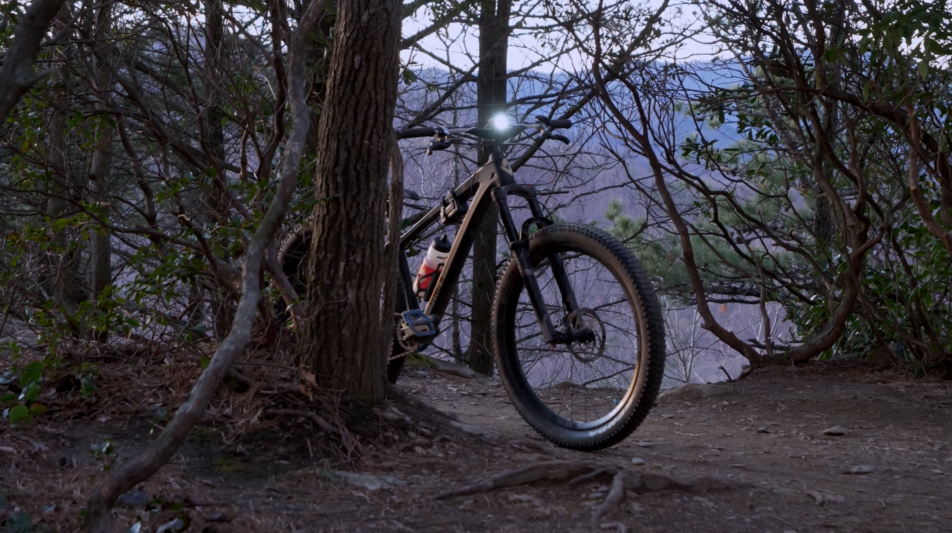
You need to equip your riding setup with a powerful and reliable light so you could ride safely and avoid all the obstacles in your path.
For that, you’ll need a bike light with the right amount of lumens.
But what are lumens, and how many do you need in a good bike light for night mountain biking? How do you choose the right one for you?
Let’s find out!
How Many Lumens Do You Need for Night Mountain Biking?
Lumens refer to the amount of light visible to the human eye. In simpler terms, it is the “brightness” of a particular light source.
Typically, the higher the lumens rating of a light source, the brighter the light it produces.
For a safe mountain bike ride at night, you will need at least 1,500 lumens.
While you can use lights with fewer lumens (especially on nights with bright moonlight), higher ratings are better to ensure complete visibility in the dark.
Is There Such a Thing as “Too Bright”?
You might think that the higher the lumen count, the better. When it comes to mountain bike riding at night, however, there is such a thing as too much light.
Using too much light in a dark area can lead to the “Snowball Effect”. This is when the amount of external light compromises the natural ability of your eyes to adjust to environments with low light, effectively blinding you when you switch your focus away from bright to dim lights.
When you project a bright beam of light on a dark bike trail and your eyes become adjusted to that level of brightness, you could become blinded when you look in another direction.
The center of the trail is bright because this is where your light’s beam is focused, but since the sides are significantly darker, your eyes will not be able to properly adjust to the difference.
It is not recommended to go beyond 2,500 lumens for night riding.
What Should You Look for in a Light?
Now that you know how many lumens you will need for mountain biking at night, here are the other qualities that you should look for in a bike light:
Beam Pattern
Beam pattern refers to the way that light disperses its brightness. Commercial bike lights can have either a spot pattern or a flood pattern. Spot patterns focus the beam directly in front of your bike while flood patterns cast a wider area of visibility. Some models can have both beam patterns or even a mixture of the two.
For mountain trails with thick vegetation, it is advisable to use a flood pattern, while a spot pattern is better for trails with many obstacles in the path.
Battery Life
When out on a mountain trail, it can be hard to find a place to recharge your batteries even if you have a power bank with you. Battery life is important if you don’t want to bother with having to charge your light while riding.
Obviously, lights with higher lumens will use more battery power. On average, a light with 1,500 lumens running on full power will have around an hour of battery life.
If you’re going out for a long time, you should take at least one spare fully-charged battery pack with you while on the trail.
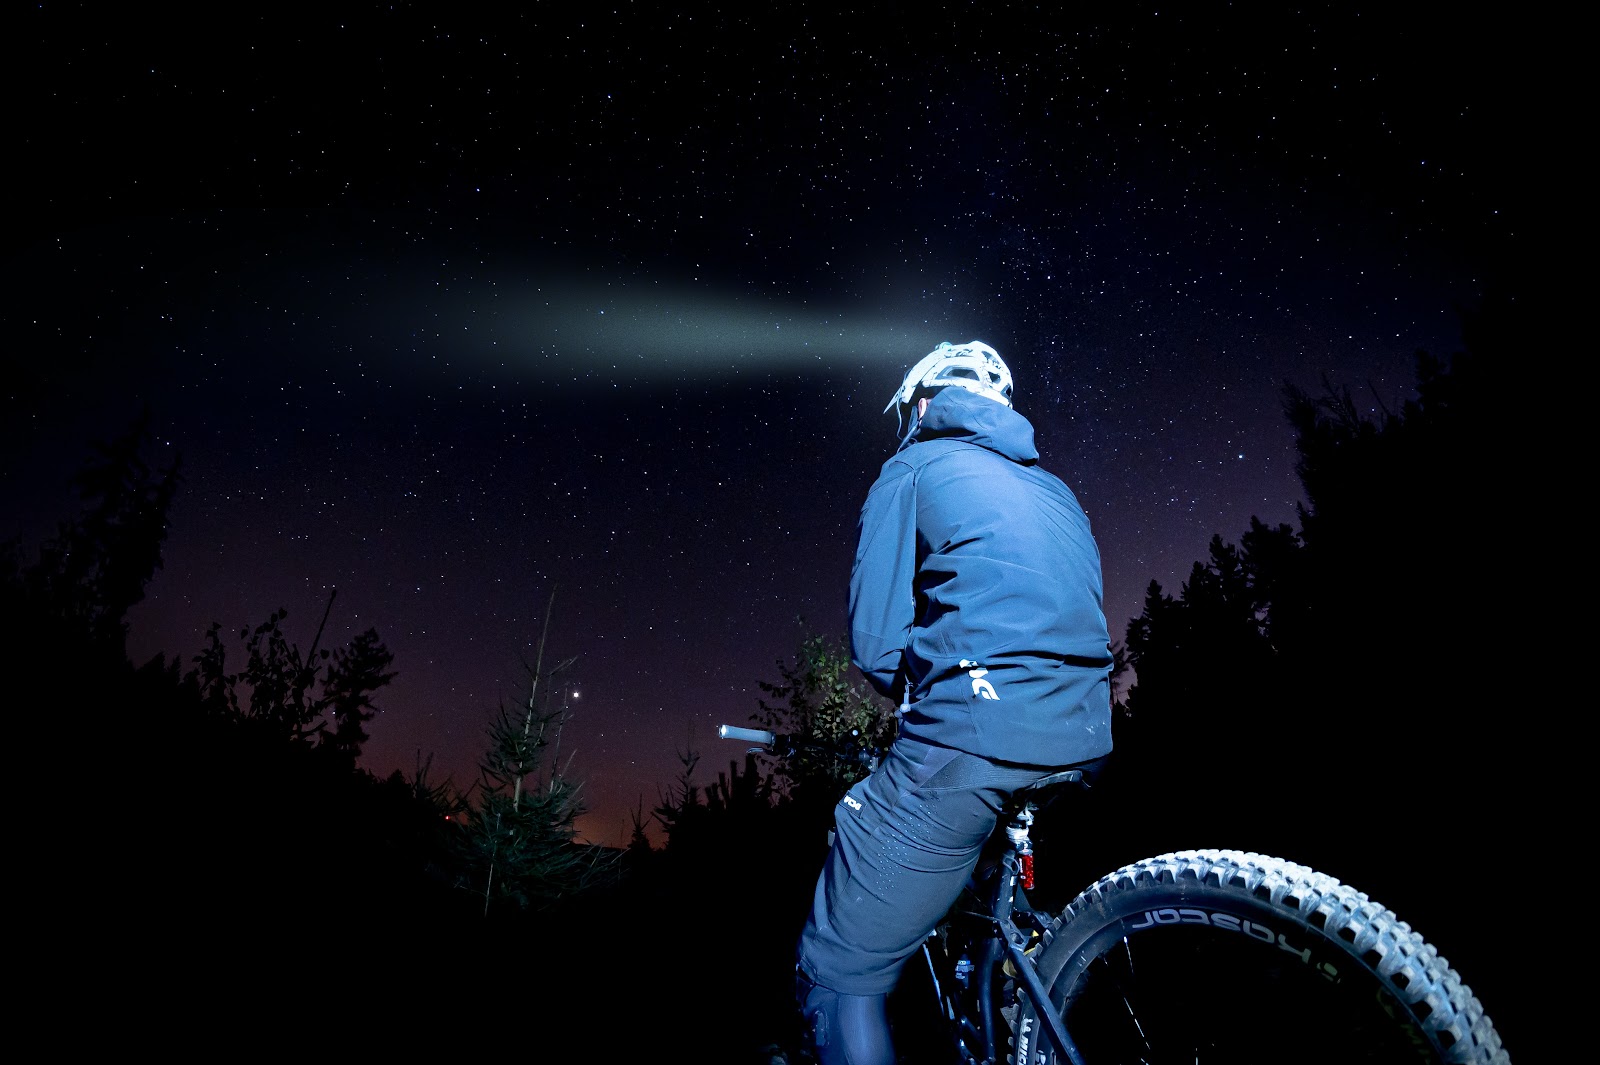
Mount
Bike lights can be mounted in two ways: on your bike’s handlebars or on your helmet. Lights mounted on your helmet will move in the direction of your field of view, while those mounted on your handlebars will be fixed directly in front of your bike.
If possible, get both kinds of lights when going on mountain rides at night. The light on your helmet will work better with a spot pattern so that your eyes can adjust better to the brightness. For the light on your handlebars, opt for a flood pattern to have a better view of the trail.
Durability
Durability refers to the light’s ability to handle bumps. Since mountain riding is a physical activity that will subject your light to a lot of external stress, look for a tested light that is both shockproof and dustproof.
Waterproofing
Since electronics and moisture are never a good combination, a good bike light must be waterproof. Whether it’s rainwater or snow, you need a bike light that has a good seal around the electrical components to keep moisture out.
Waterproof ratings range from 0 (not waterproof) to 6 (completely waterproof). If you’re planning to ride in an area that is prone to sudden downpours, it might be wise to invest in a light with a 6 rating.
Weight
Even if you plan to place your light on your handlebars, you should consider the weight of the light. You could compromise the movement and handling of your bike if you get a light that is too heavy. This is also something to consider if you want to mount a light on your helmet.
Where Should You Place the Light on Your Bike?
As mentioned above, you can place your light on either your helmet, your handlebars, or both.
Make sure that a bar-mounted light is placed in the middle of your bike for maximum visibility. A bike light on your helmet should be placed along your line of sight.
Bar-mounted bike lights should be fixed using clamps to ensure that the grip is tight and stable.
You can opt for double-sided velcro tape for your helmet so that the light can easily be adjusted as necessary.
Does Weather Affect Battery Performance?
In a nutshell, yes, cold temperatures can affect battery performance negatively.
If you ride in temperate areas with freezing temperatures, you will notice that your bike lights will run out of power faster.
Lights exposed to the cold may also have a hard time turning on since batteries can die in cold weather.
Make sure that you store your batteries in an insulated compartment to protect them from cold temperatures and moisture.