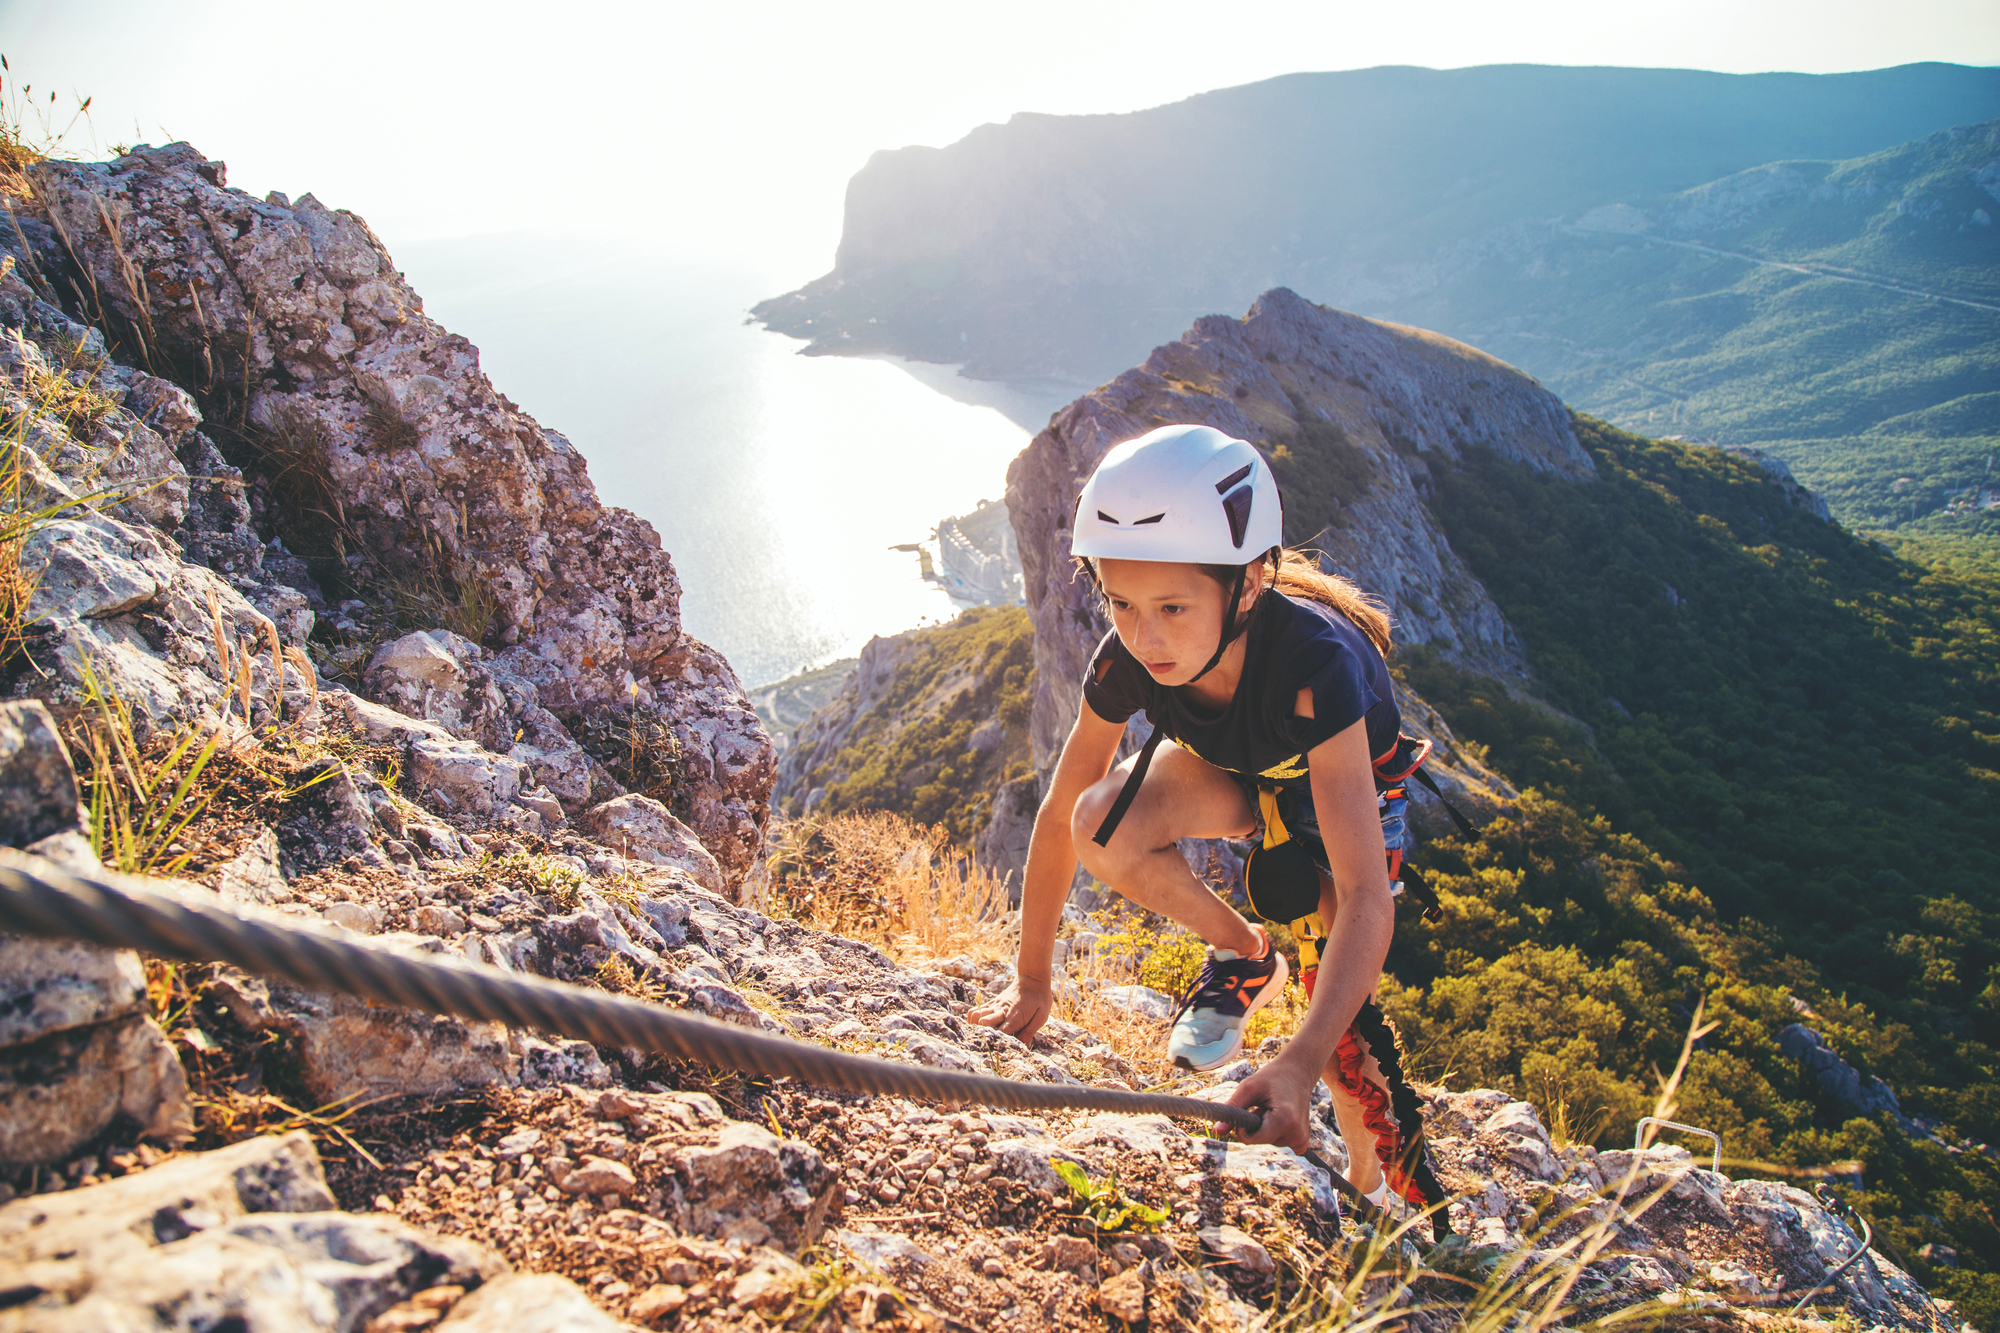
Finger strength is an essential part of climbing. Many climbers make the mistake of not increasing their finger strength, focusing instead on strengthening their legs and shoulders.
While having strong leg and shoulder muscles is great, you should not underestimate the importance of finger strength. If you love climbing challenging walls or mountains, you will inevitably encounter small holds or overhangs with just enough space for fingers.
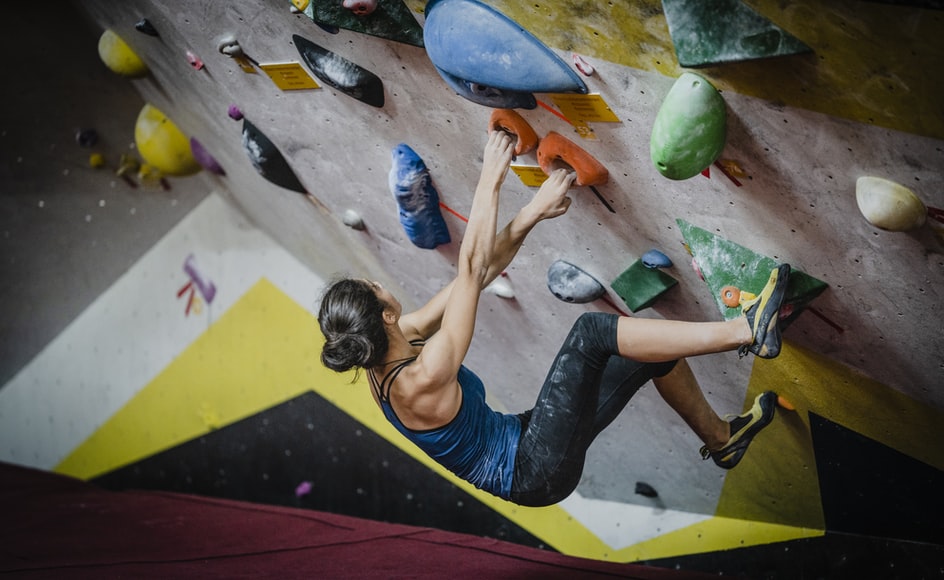
Finger strength is especially important for certain grip styles, such as half crimps and full crimps.
Luckily, there is equipment specifically designed to help you increase finger strength. One piece of equipment is the hangboard.
What is a Hangboard?

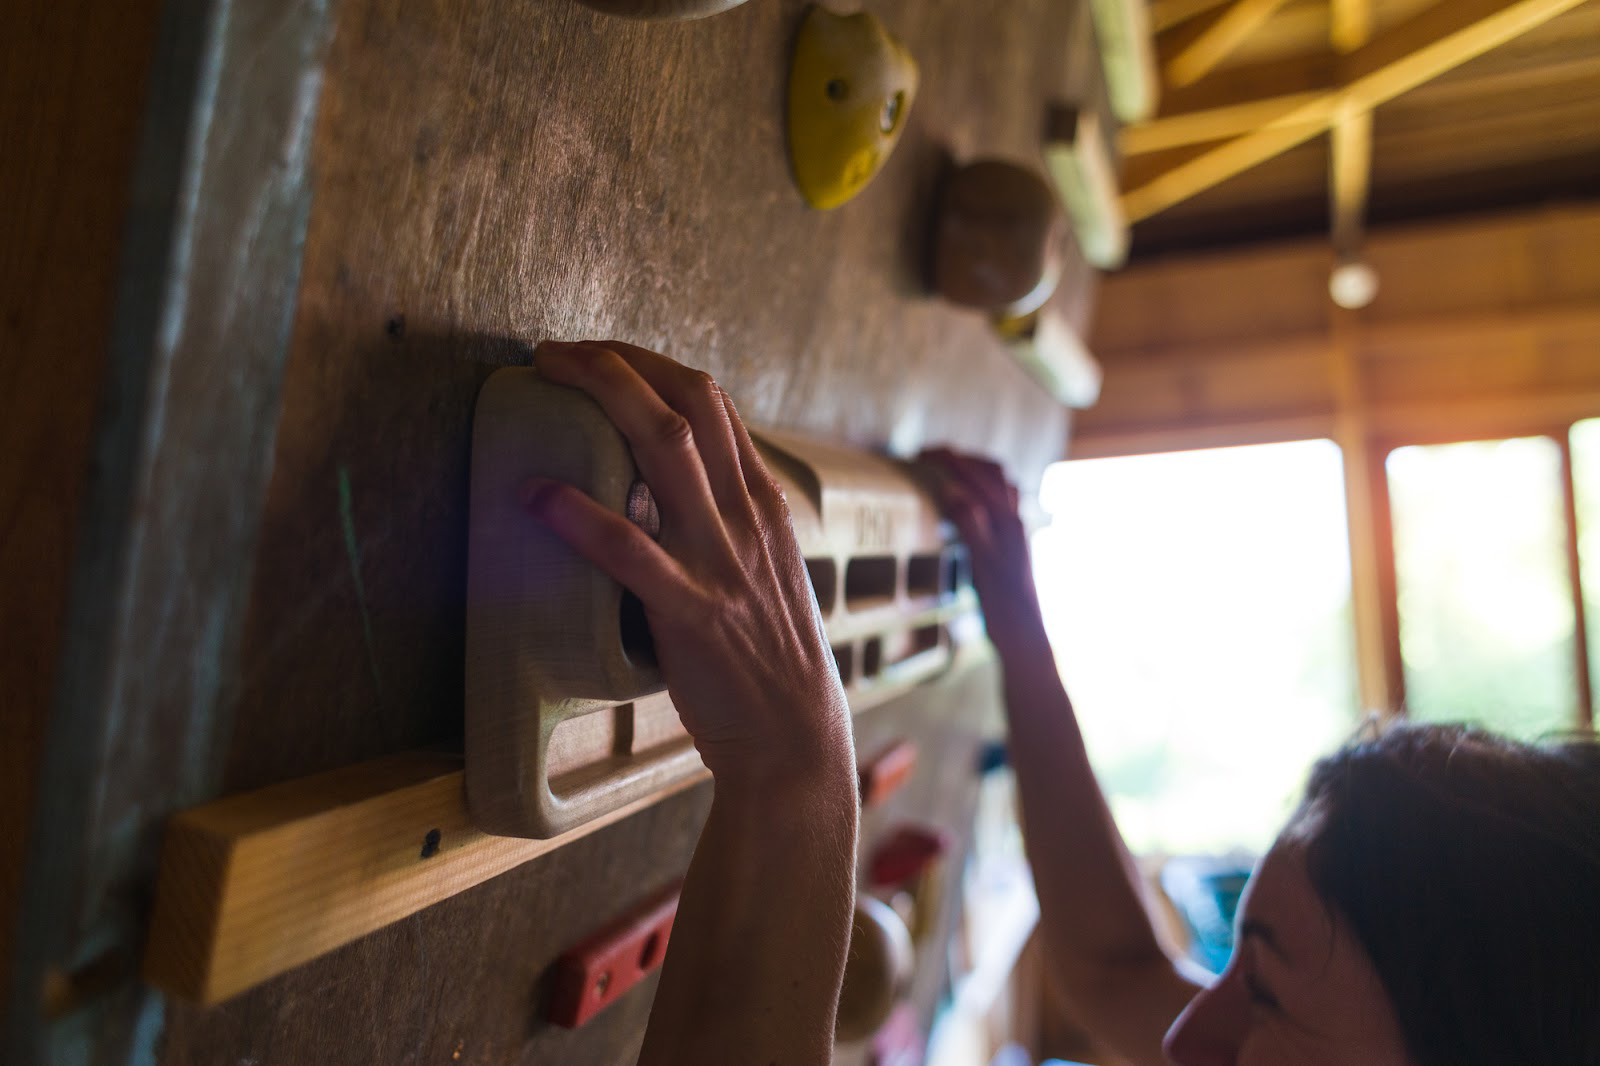
A hangboard is a piece of wood or plastic that is designed to help increase finger strength. It is usually attached to a wall and features a series of holes along the surface.
As the name suggests, you use a hang board by inserting your fingers into the holes and letting your fingers carry your weight as you suspend your body in the air.
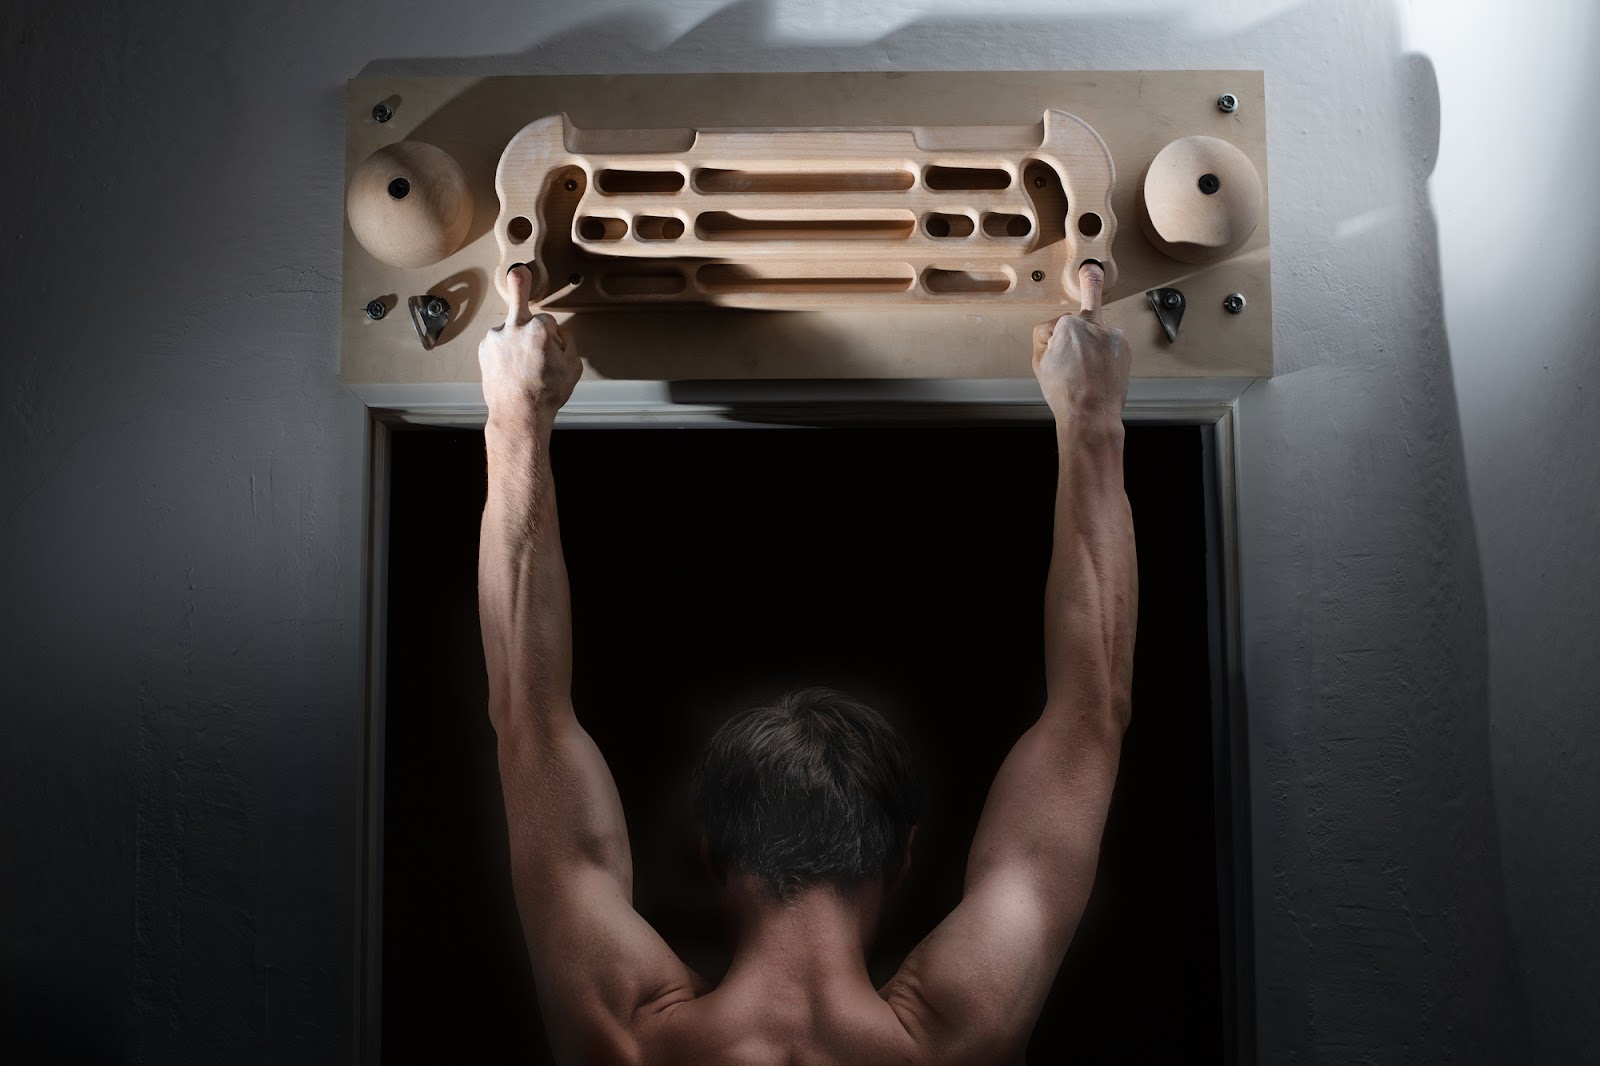
Using a hangboard is a great way to improve finger strength at home. You can install it on any solid wall surface or even on a door frame.
How Does a Hangboard Improve Finger Strength?

For climbers, using a hangboard is a fantastic way to increase finger strength. Since you will be carrying your body weight, there is a smaller risk of overexerting your muscles.
When using a hangboard, you can only rely on the muscles and tendons in your fingers to bear your weight. If you are using the proper form, you should not carry weight on your shoulders and arms.
According to a study[6] conducted by the United States Air Force Academy Department of Engineering Mechanics, regular hangboard workout routines can increase grip strength and climbing performance. All study participants were experienced rock climbers and 86% reported improved climbing performance.
Understanding Different Hangboard Grip Positions
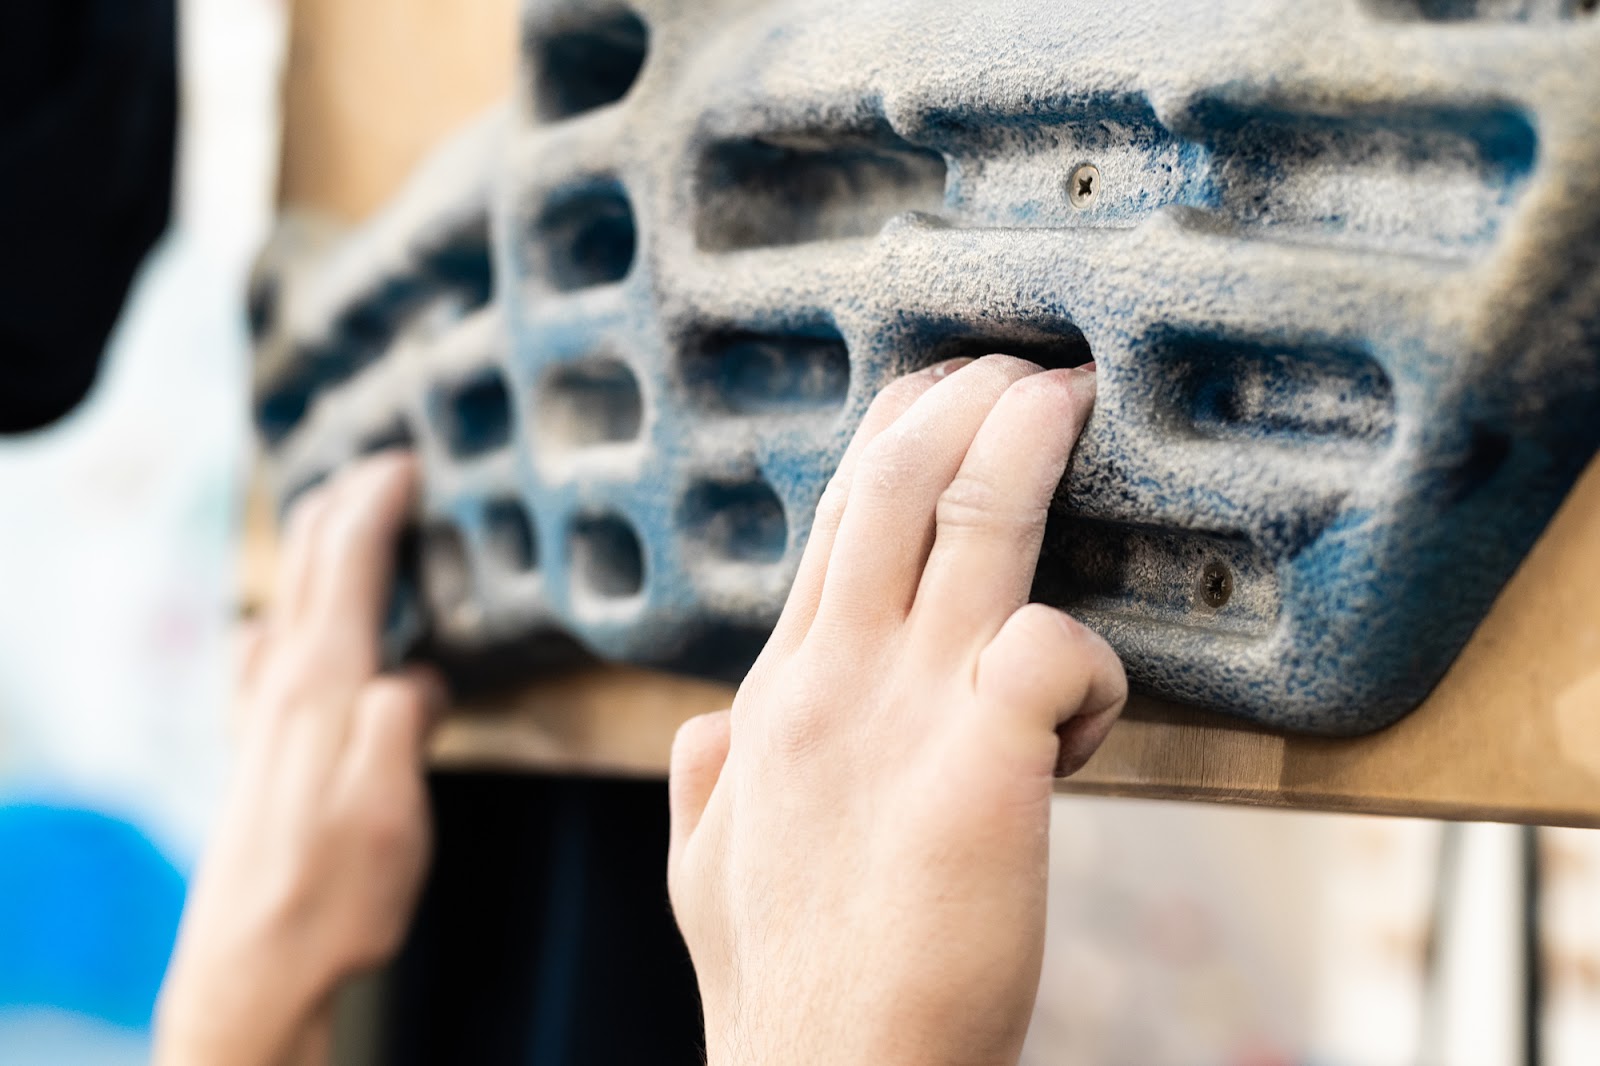
The holes on the surface of a hangboard allow you to use different grip styles. You can focus on a grip style that you need to improve or learn a new one.
Here are the different hangboard grip positions:
Jug
The jug grip is the easiest hangboard grip. Raise your arms straight up and place your hands on the top of the hangboard. Position your fingers in a full crimp. Once you have a good grip, let your body hang.
Sloper
The sloper grip is a variation of the jug grip. Move your arms to a 70° angle relative to your shoulders and place your hands on the top of the hangboard. Position your fingers in a half crimp, making sure to relax your thumb.
Pocket grips use the various holes on the front of the hangboard. You can vary the intensity by changing the number of fingers you use to grip the holes. You can only use your pointer, middle, ring, and pinky fingers. Fewer fingers mean a harder hangboard workout. When using the pocket grip, keep your hand open, and do not curl your thumb into a crimp.
Edge
Edge grips utilize the edges of your fingers. This is the hardest type of hangboard grip and should not be attempted by beginners. Avoid closing your thumb over your pointer fingers. The shallower the edge grip, the more difficult it is.
How to Use a Hangboard Correctly
Before using a hangboard, make sure to warm up to loosen your muscles and prevent injuries. A good warm-up should last around 15 minutes. Simple exercises such as pushups, jumping jacks, or jogging are great choices for a warm-up. You can also do finger curls to limber up your fingers.
The basic hangboarding exercise is called the dead hang. In this exercise, you will let your complete bodyweight down. For beginners, the jug grip is recommended.
Once you have positioned your fingers, suspend your body. Keep your shoulders relaxed and away from your ears. Your elbows should be slightly bent to avoid locking them. Do not arch your back or hips forward.
Hold your position for approximately 10 to 15 seconds before slowly letting your body down and relaxing your grip.
A good hangboard workout routine consists of around four sets. Each set should have four hangs with a resting time of 30 seconds in between each hang. After a set, rest for five minutes before starting your next set.
Conclusion
If you want to increase your finger strength and improve your climbing technique, using a hangboard should be part of your workout routine. After using a hangboard, you will notice that your fingers, elbows, and shoulders will become sore. Make sure to get the proper rest to allow your muscles to heal.
Over time, you can move on to more difficult hangboard exercises such as one-handed hangs or longer dead hangs. Pace yourself when using a hangboard since arm and finger injuries can take a long time to heal.
Time to hang out (pun intended) at your local gym!