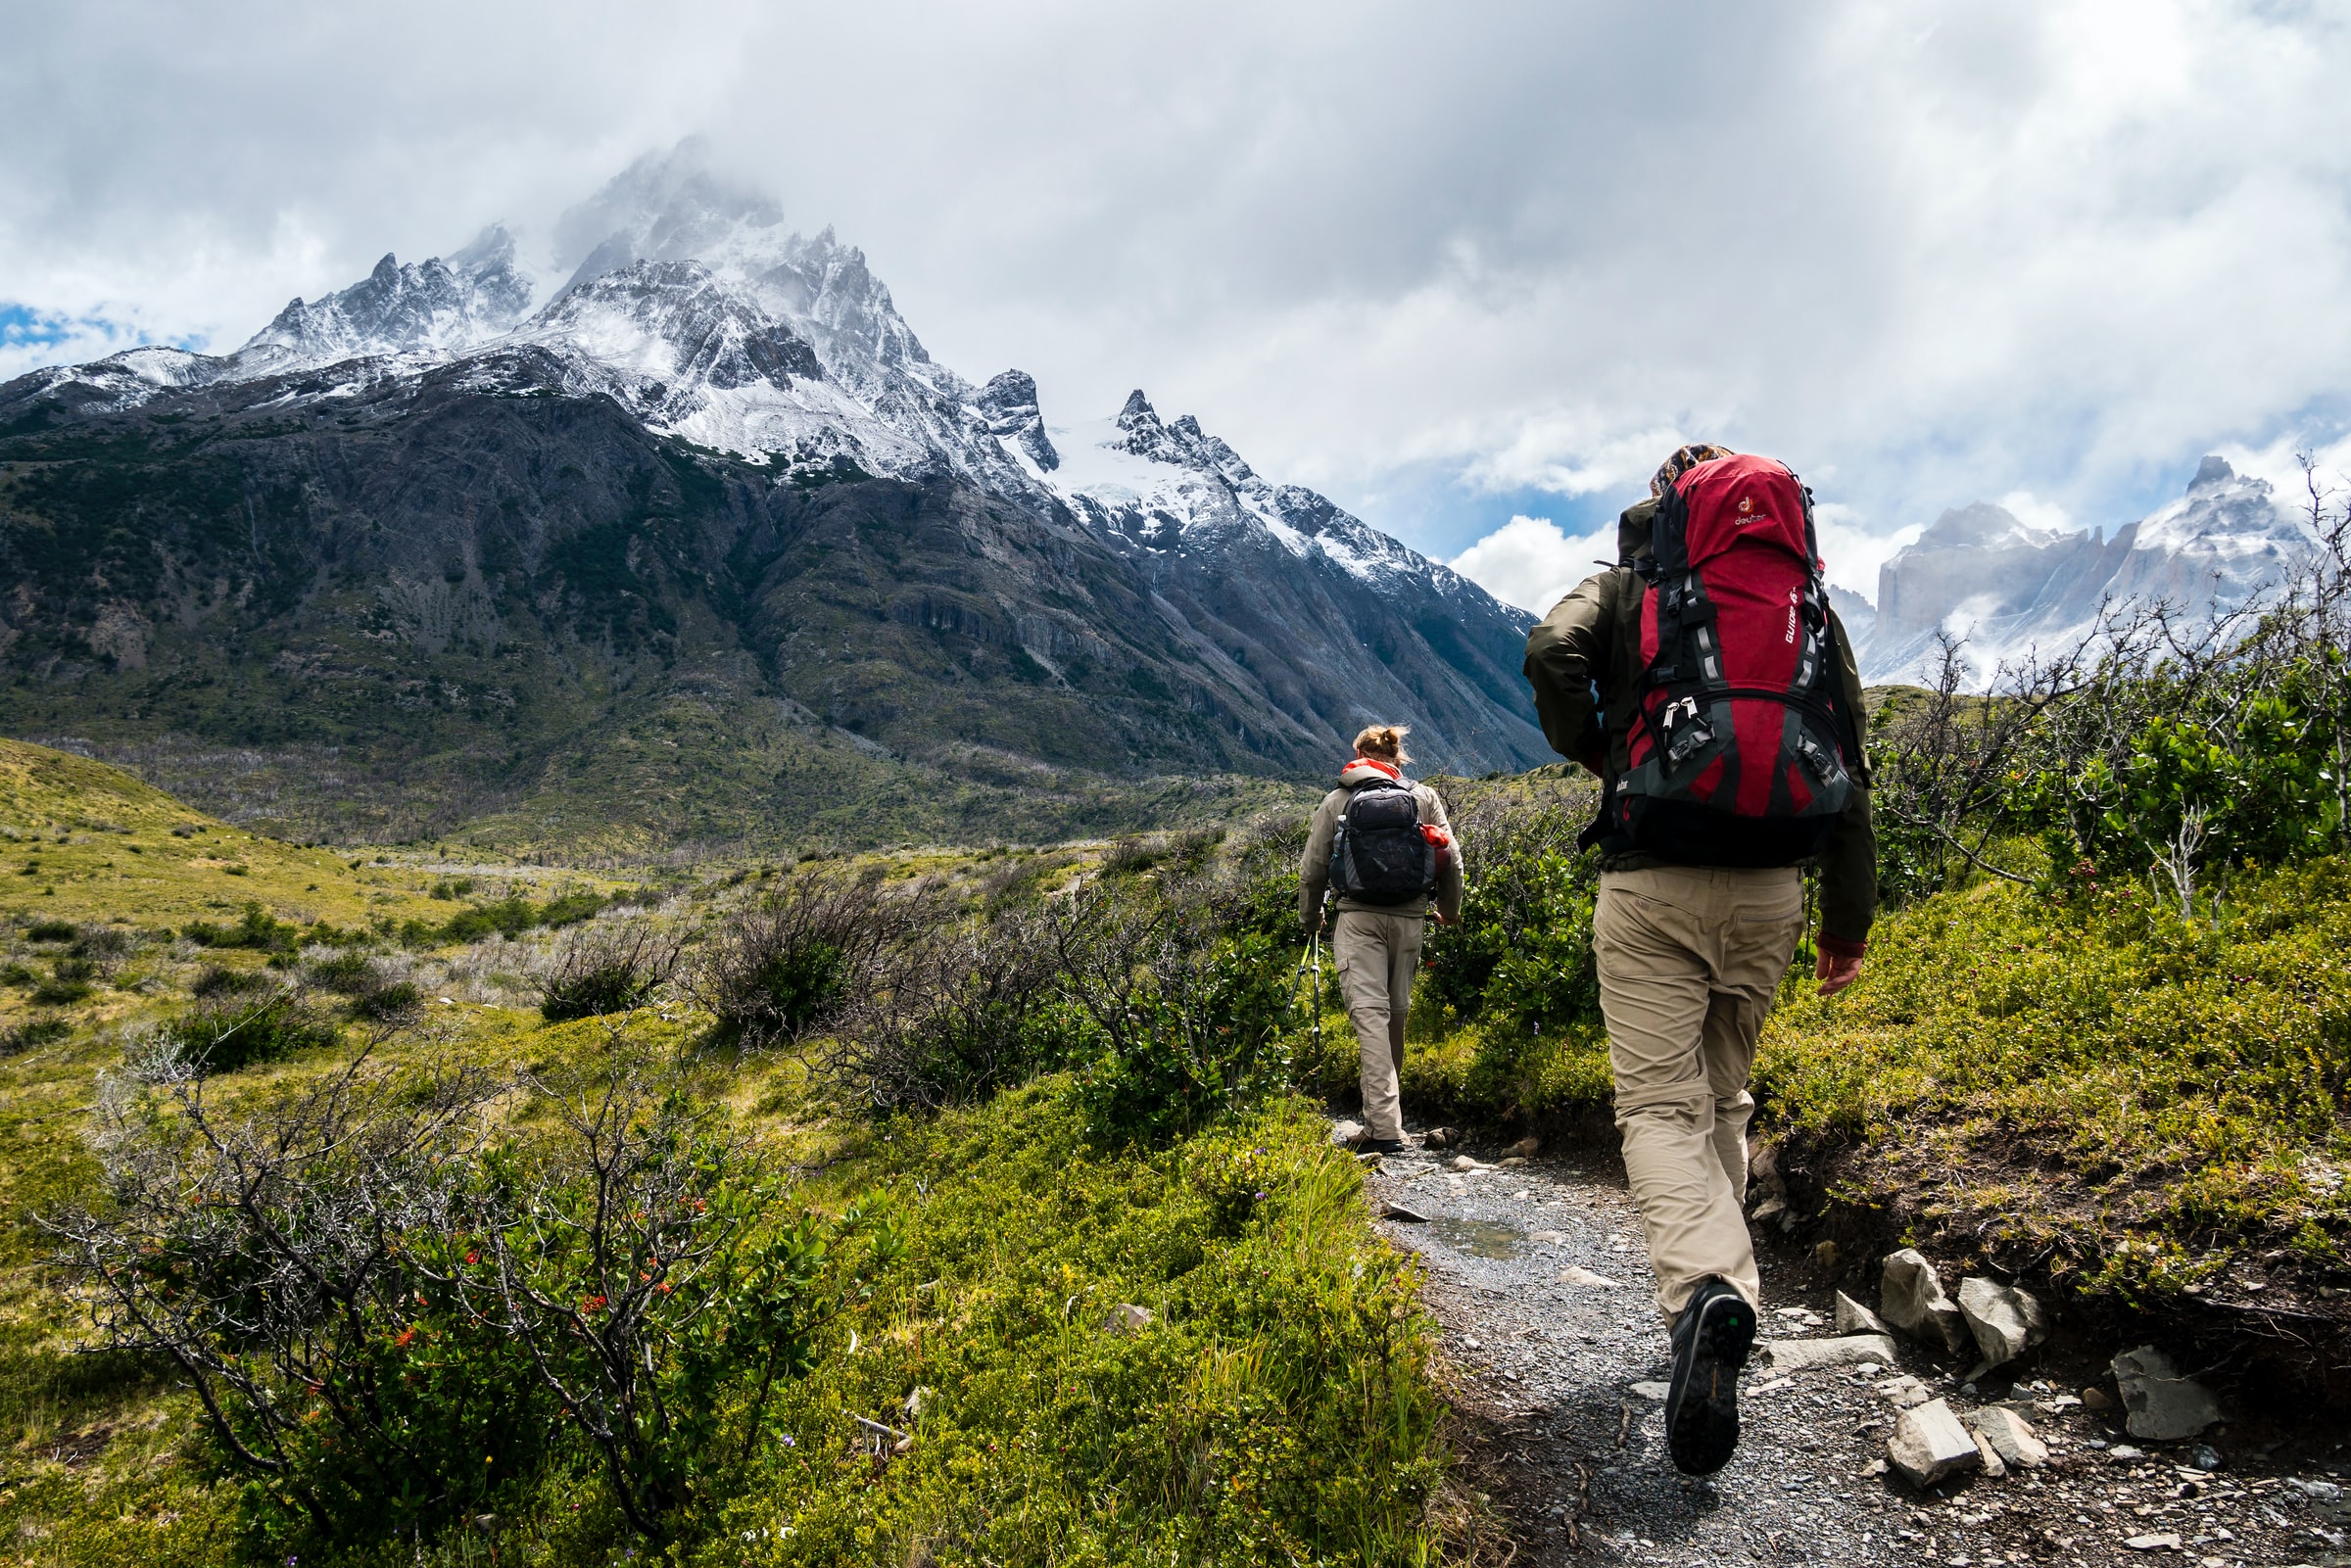
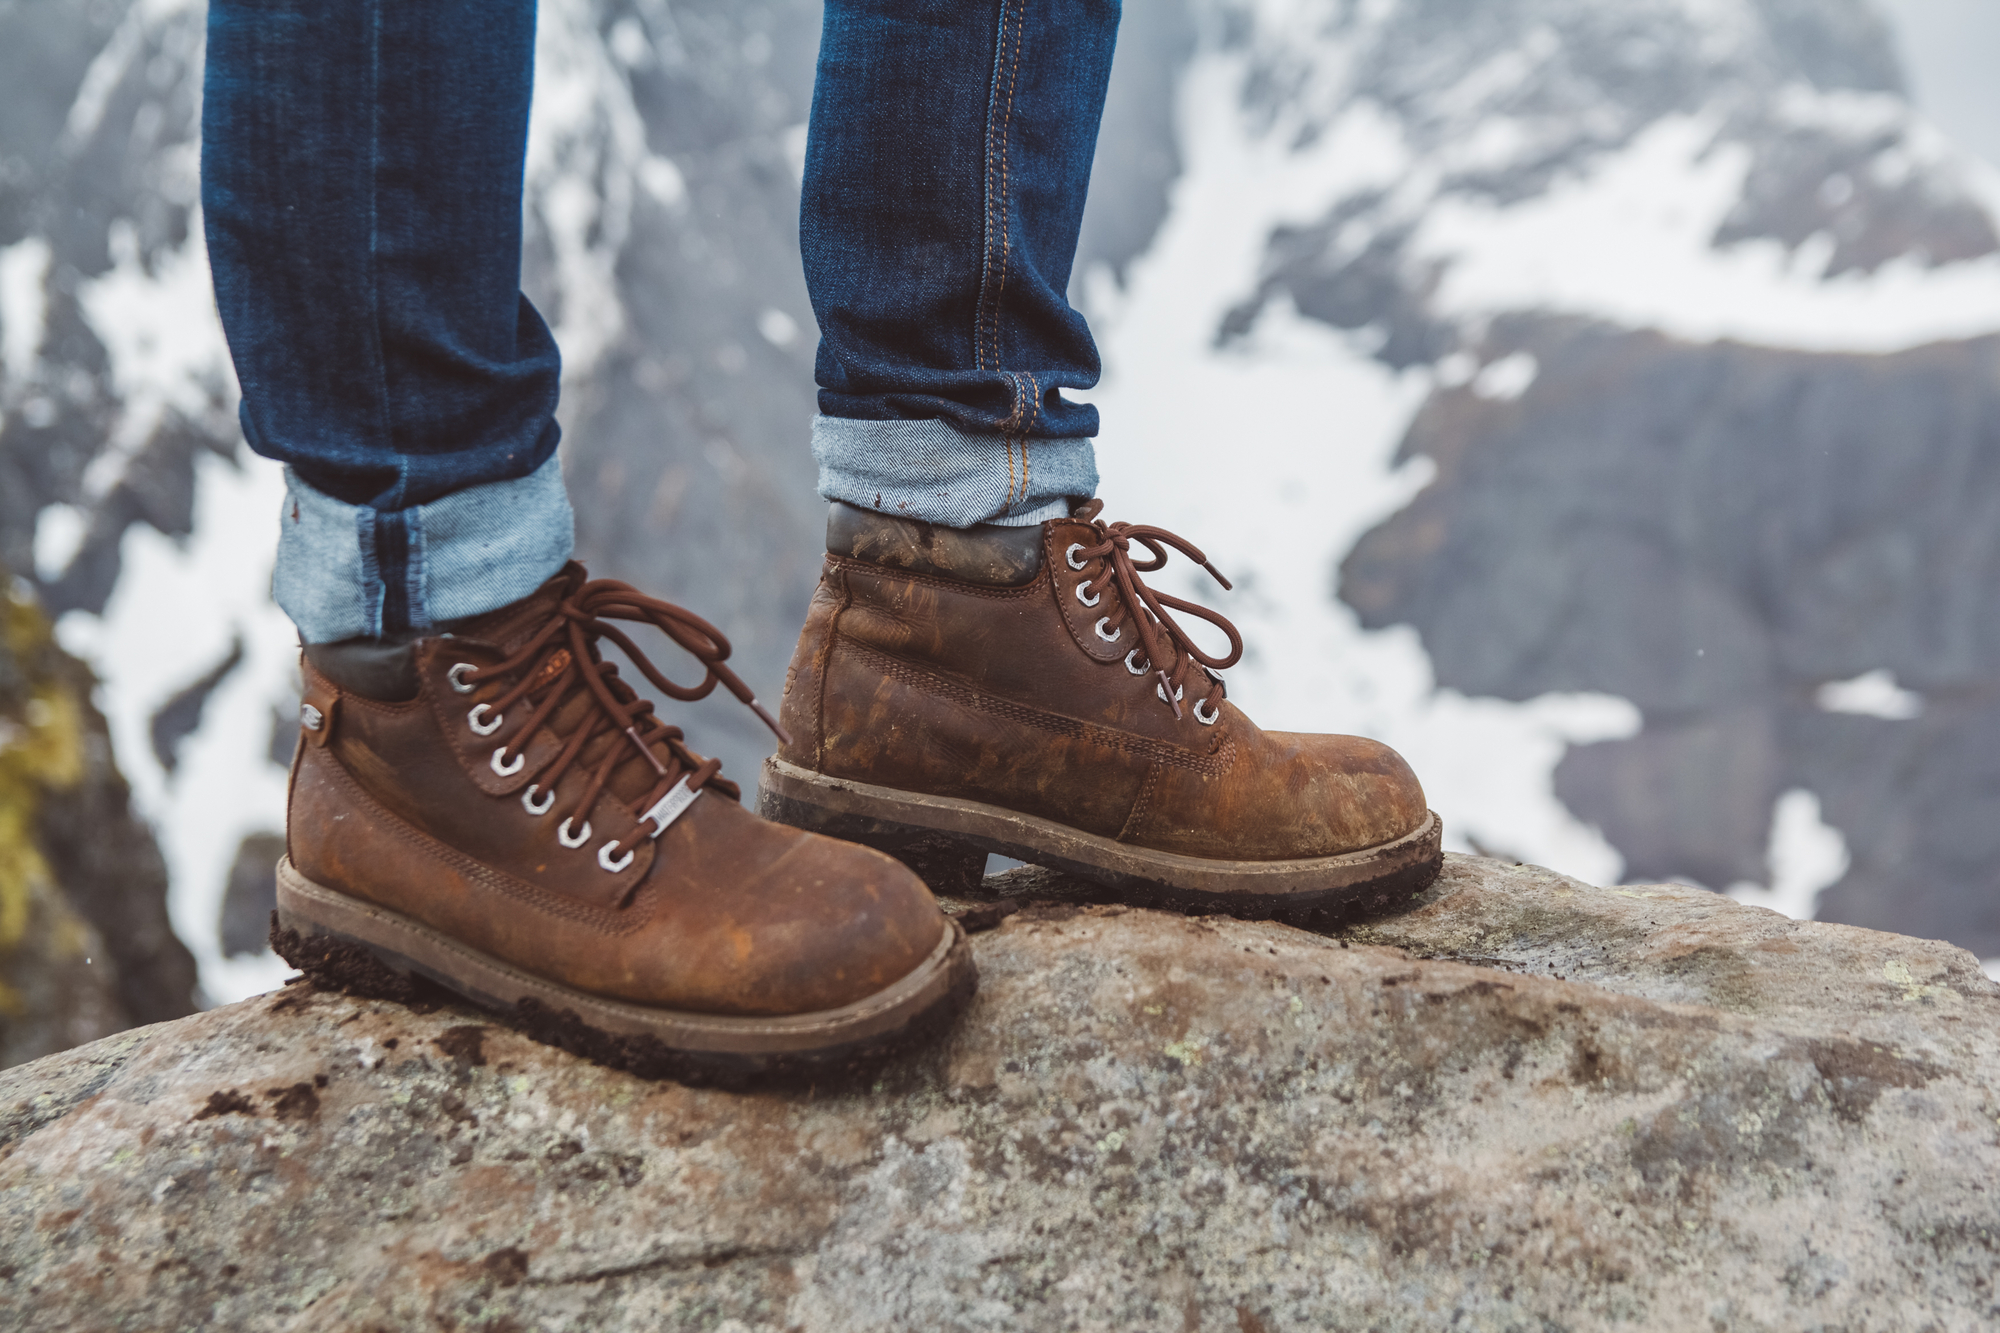
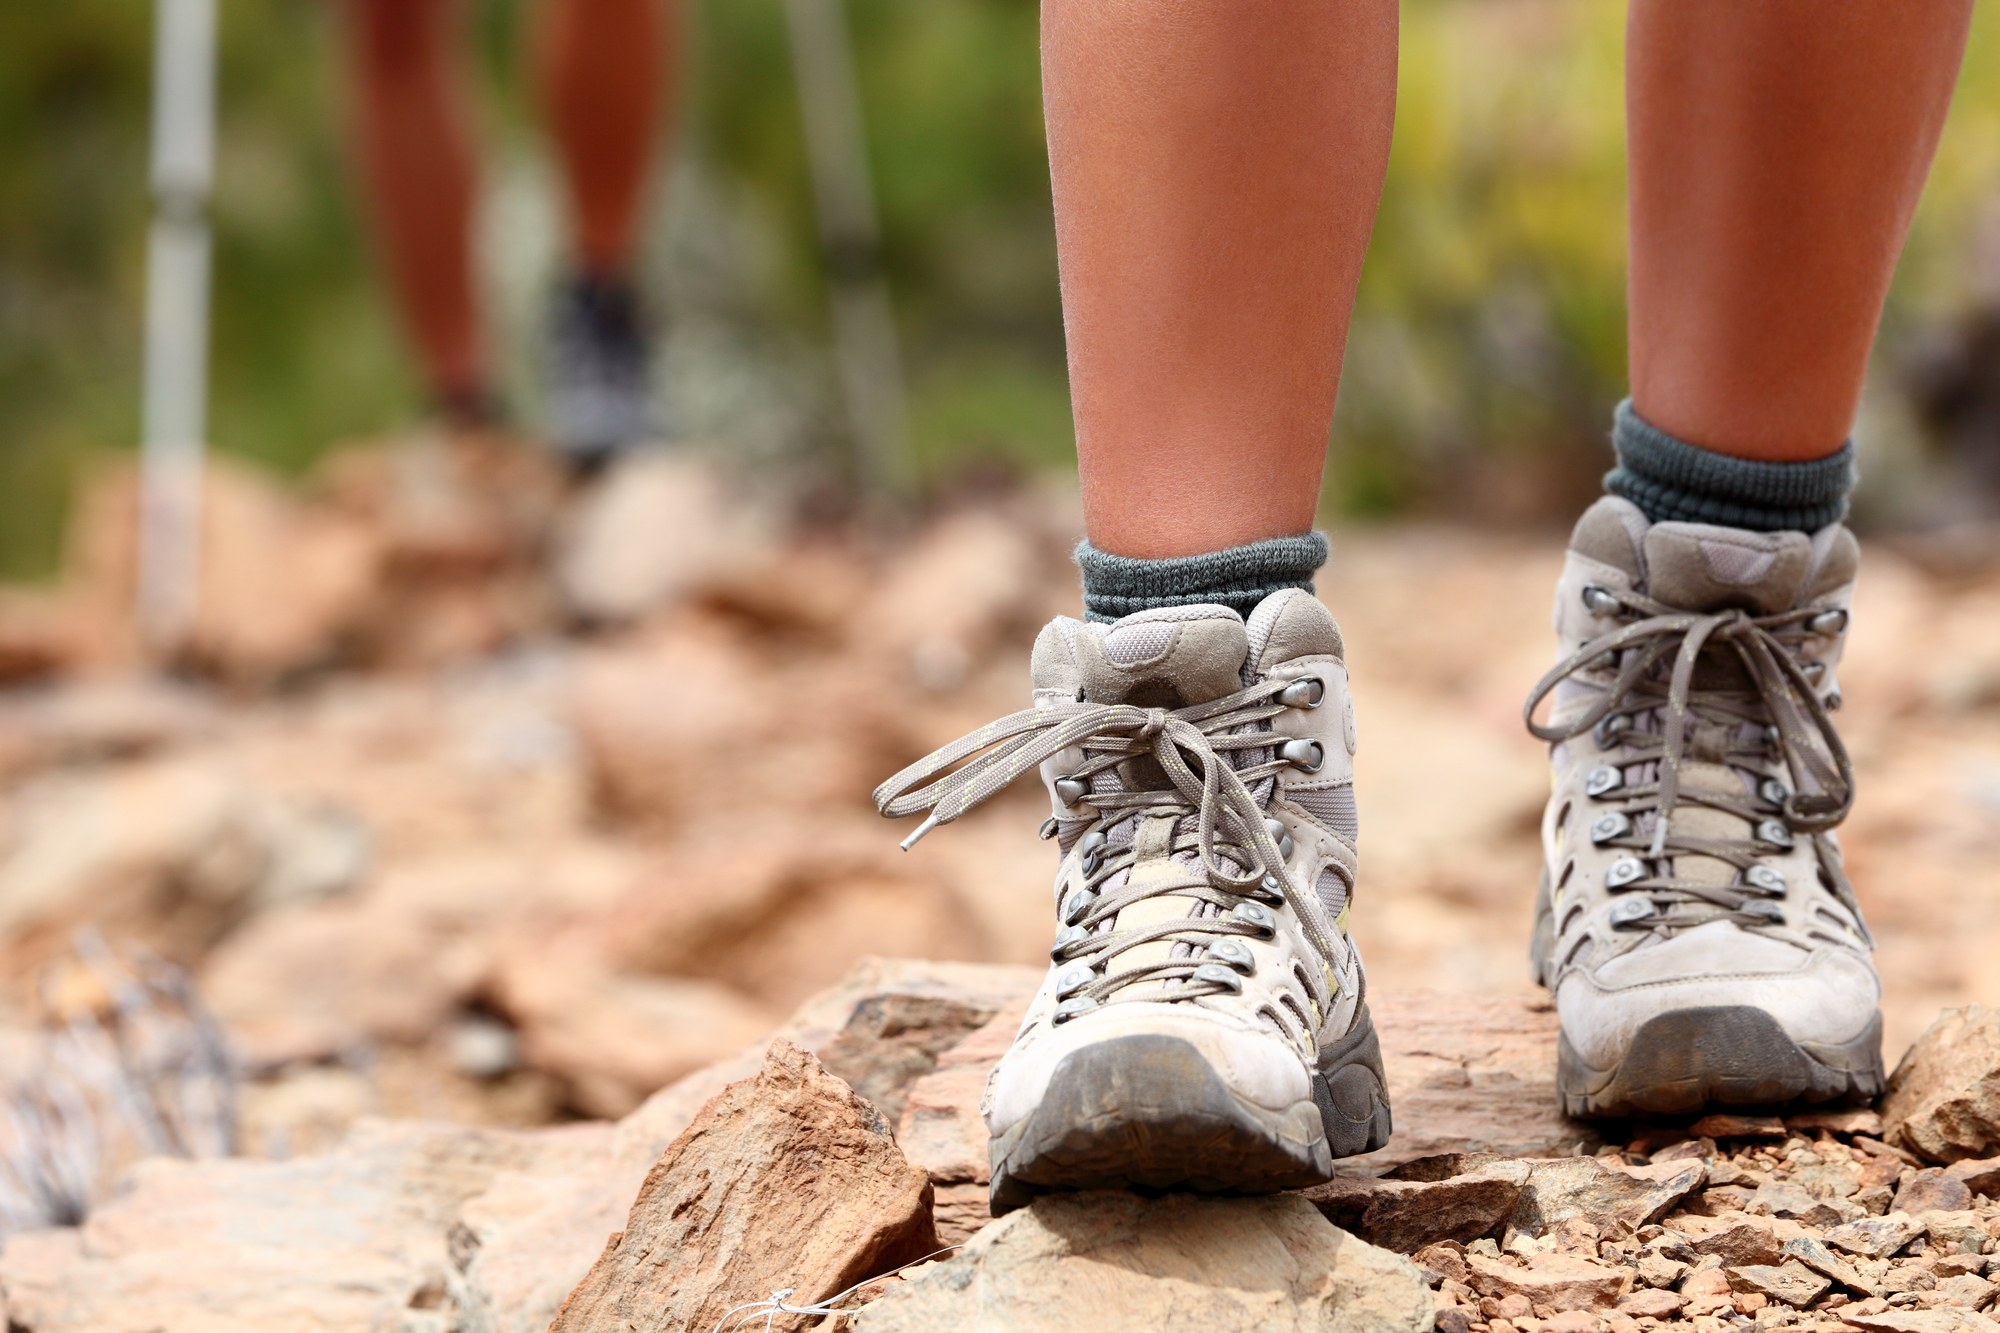
For hikers and trekkers, a broken boot is one of the most annoying things that can happen during a hiking trip. Hiking boot damage can be annoying or even dangerous, whether it’s the sole coming loose or a rip in the body.
A loose sole means you’ll have less traction while hiking, and a rip in your shoes allows moisture and dirt to enter.
If your hiking boots get damaged while you’re out on a trip, here is what you can do for an emergency field repair and a more permanent fix.
Why Hiking Boot Soles Come Off
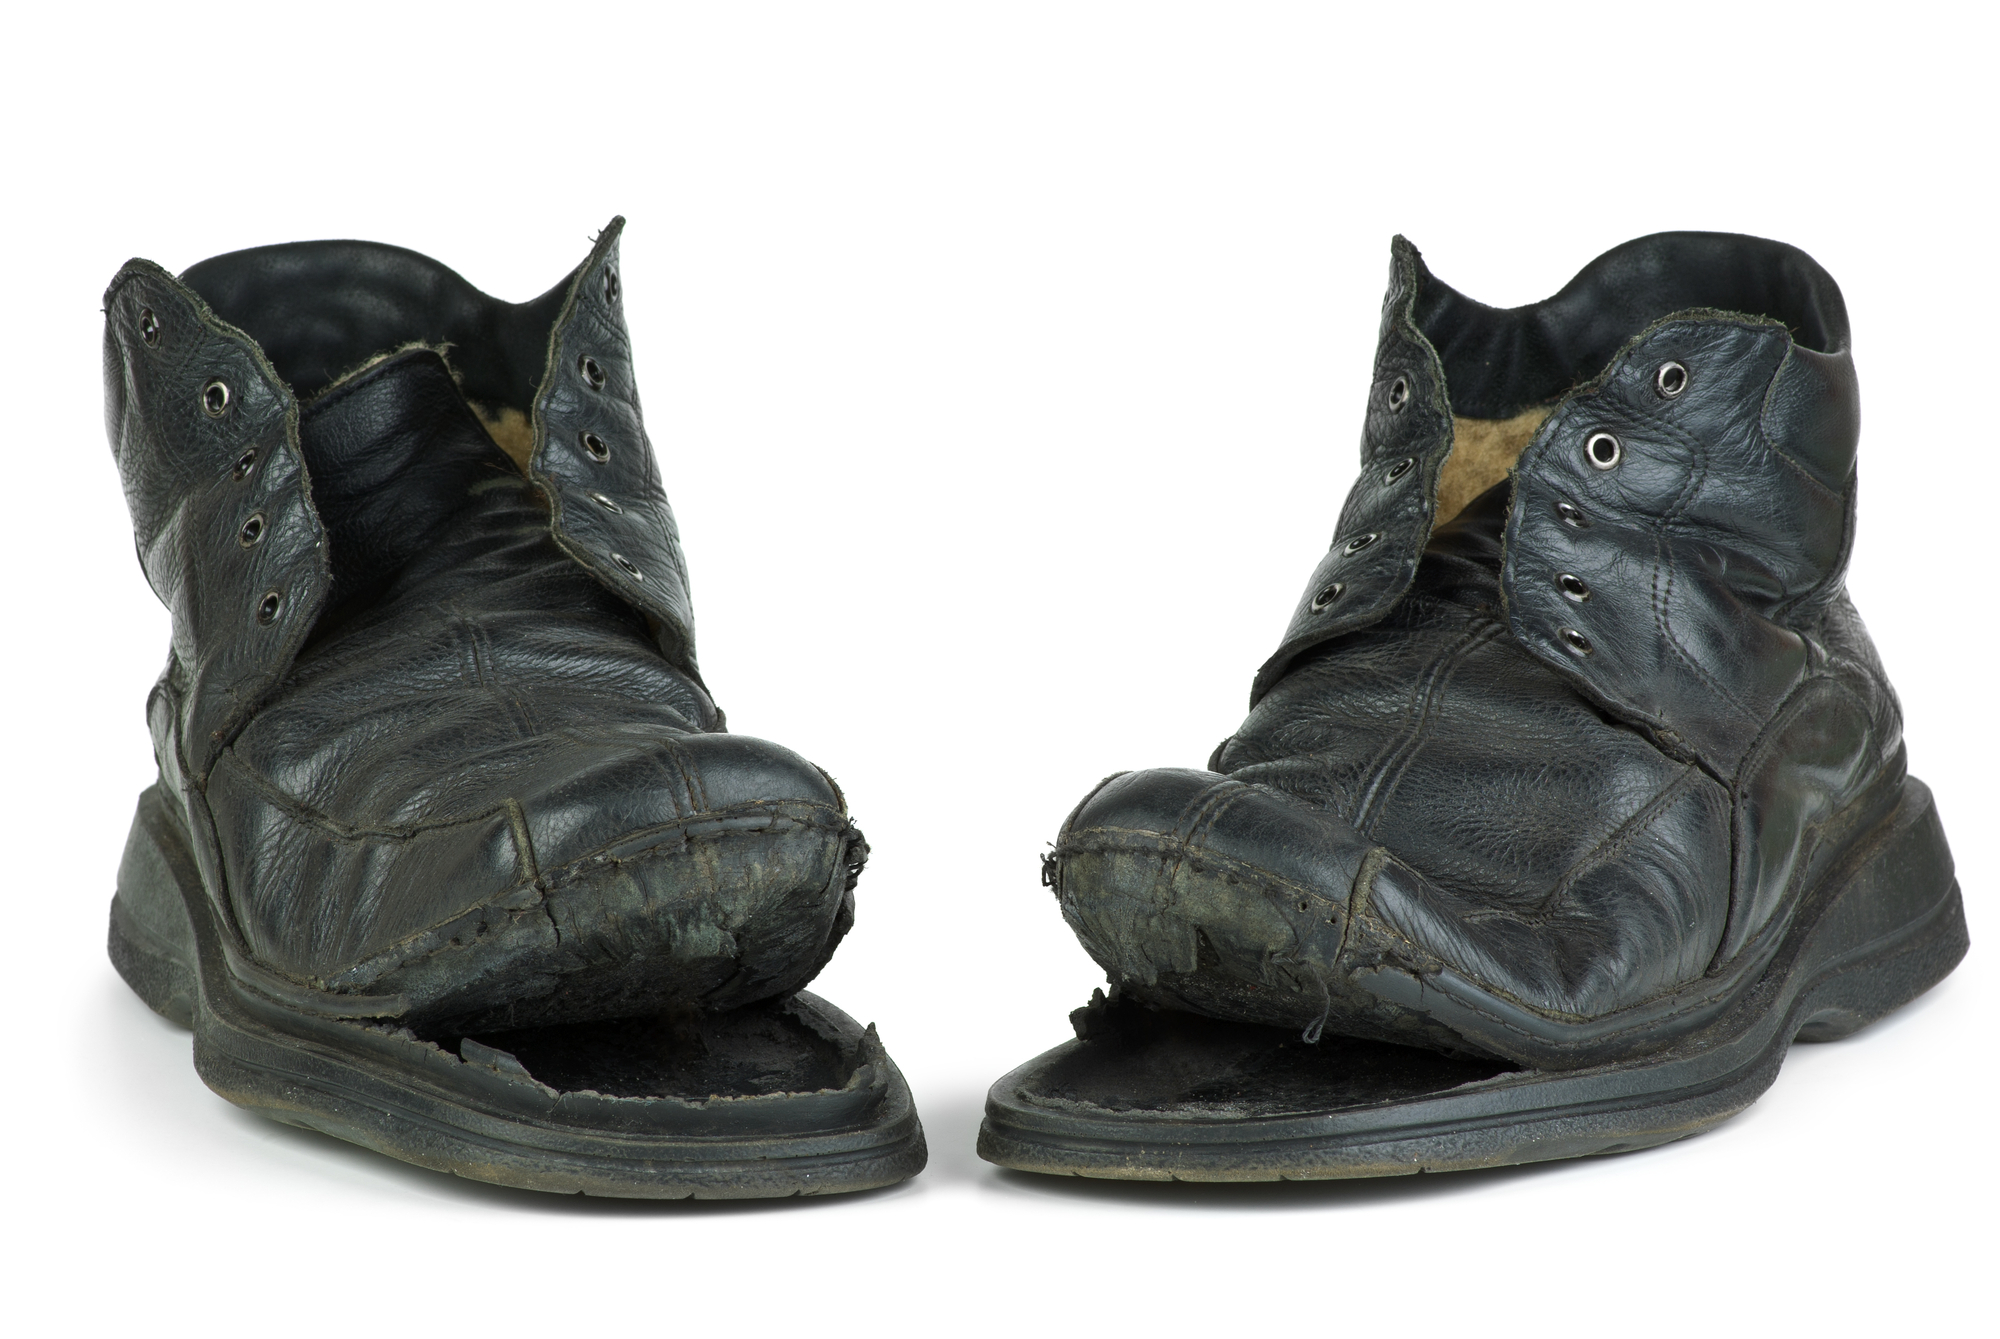
Midsole damage is the most common problem when it comes to hiking boot damage. The midsole is the part of your boot located between the insole and the outer rubber tread. The midsole provides insulation and protection for your feet while you walk.
Hiking boot midsoles are commonly made from plastic material polyurethane (PMU), a lightweight and soft material that cushions your feet. When moisture comes into contact with PMU, a process called hydrolysis occurs. Water cleaves the molecular bonds of the PMU and weakens the structure of the compound. Over time, external moisture can work its way into your midsole and break down the PMU, degrading the material. Eventually, your midsole becomes porous and brittle.
Aside from moisture, extreme temperatures and UV light can accelerate the degrading process. You’ll know that your midsoles are damaged when you feel the sole become more rigid and less flexible. In extreme cases, the midsole can crumble or even disintegrate completely.
Of course, midsoles also break down through normal wear and tear even with the proper care and maintenance. However, exposing your hiking boots to continuous moisture or extreme temperatures without adequate protection can hasten the degradation.
How to Prevent Sole Separation
There are two ways to prevent sole separation due to hydrolysis. First is drying your hiking boots after every use, particularly if you hiked through wet terrain. The second is by storing your hiking boots properly.
If you don’t dry your boots after use or leave your shoes exposed to the elements, hydrolysis can occur quickly. Moisture on the body of your hiking boots can seep down into the midsole and start breaking down the material.
Continuous exposure to heat can accelerate the PMU decomposition process. While it’s a good idea to dry hiking boots in a sunny place, you should not leave them outside for a whole day.
After cleaning your hiking boots, you should store them in a dry place with good air circulation.
Recognizing the Signs of Hydrolysis
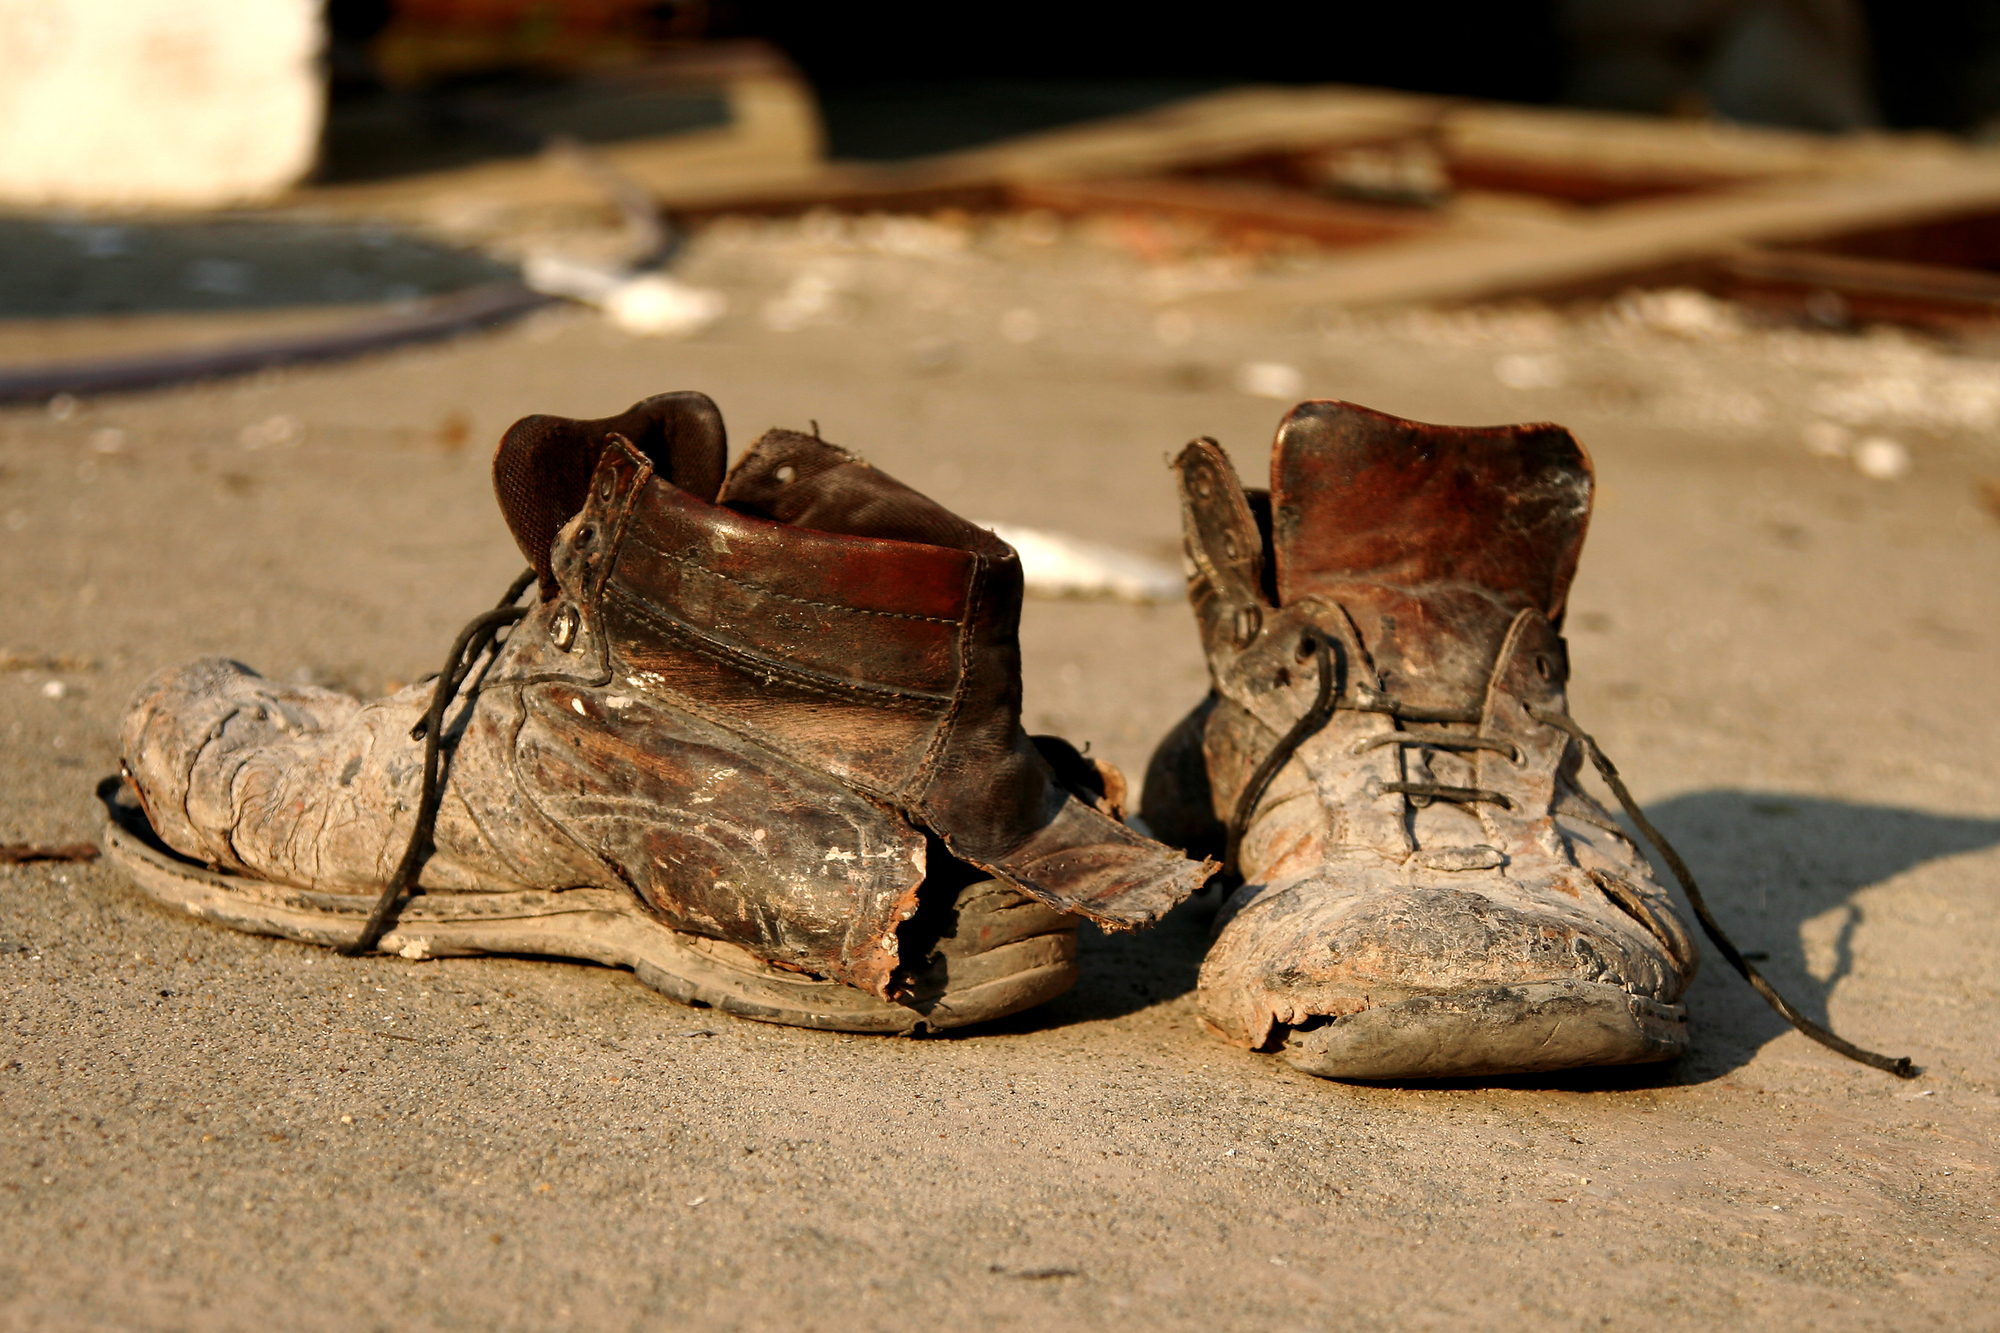
The problem with hydrolysis is that the first signs of damage can be hard to see. Since the damage often starts in the midsole, you won’t be able to determine if your midsoles are beginning to deteriorate.
If you haven’t used your hiking boots for a while, you should inspect the midsole seams closely. Any visible damage from the outside means that the midsole has already entered an advanced hydrolysis stage, and the boots are no longer safe to use for hiking.
You can also perform a pressure test to see if the midsole is still in good condition. Use a pointed but not sharp object such as a key to press down into the midsole. The material should slightly give and rebound back out to the original form.
If the material stays decompressed or does not have any give at all, the PMU has already hardened or deteriorated.
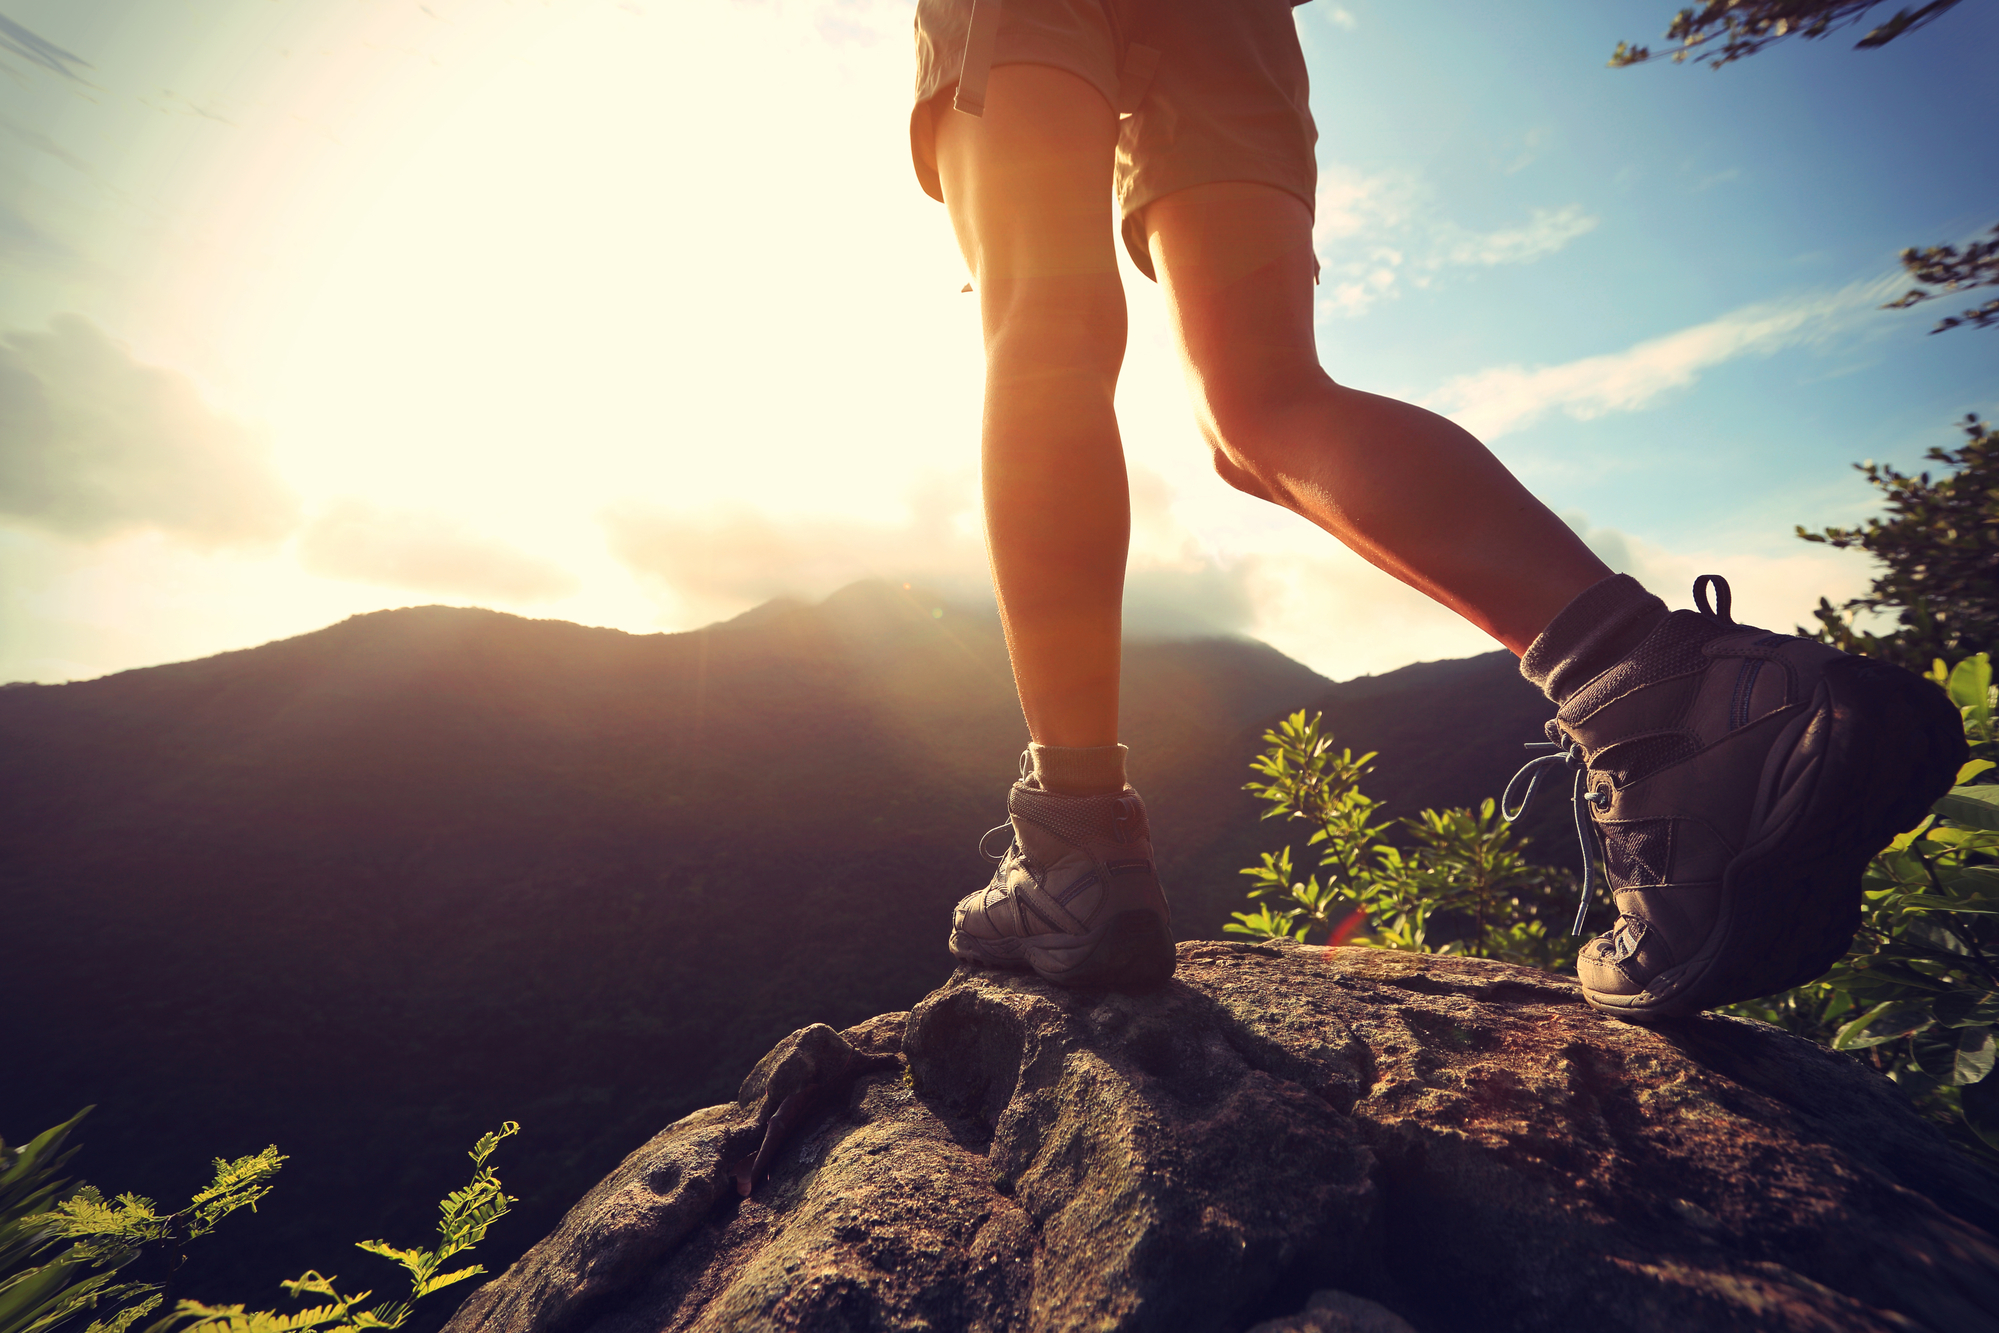
Finally, you should take your hiking boots out for a walk before taking them on a real hike. A test walk will allow you to feel any problems with your midsole. If you think that your boots no longer give sufficient support or cushion, it’s time to replace them.
Emergency Repairs While On a Hike
If your boots get damaged while on a hike, you won’t have any other recourse other than performing an emergency field repair. This is why it is a good idea to carry a tube of sole glue while you’re out hiking. While you won’t be able to repair your shoes completely, a field repair can hold your boots together long enough for you to return home.
There are three types of field repair you can perform while out on a hike:
- Reattaching delaminated soles: A delaminated sole is when the midsole detaches from the tread or the body of the boot. Apply glue on the exposed area of the sole, press down firmly, and allow the glue to cure for a few minutes to allow the bond to form.
- Broken seal: When the seals on your boots come off, the gap allows moisture and dirt to enter the shoe. Pinch the sides of the hole together and apply glue on the top to close the seal. Allow the glue to cure for a few minutes before resuming your hike.
- Loose or detached rands and panels: If your boot’s panels or rands come loose, you can apply glue on the surface and press them back on your boot to reattach them.
Note that no amount of field repair can restore midsoles that have entered an advanced hydrolysis stage. If you are unsure of the condition of your hiking boots, don’t gamble on your safety!
Repairing Your Soles at Home
You can repair detached soles at home to perform a more robust and reliable repair. Use a high-quality adhesive such as GEAR AID Aquaseal SR Shoe Repair Adhesive. This type of rubber glue is flexible and waterproof.
To repair a delaminated sole, you’ll need:
- 70% Isopropyl alcohol
- Aquaseal SR Shoe Repair Adhesive or a similar adhesive
- Clean microfiber cloth
- Glue application brush
- Wire-bristle brush
- Duct tape or clamp
- Fine sandpaper
- Clamp
- Clean the soles using the wire-bristle brush to remove dirt and debris from the surface.
- Wipe down the surfaces with isopropyl alcohol to remove any glue residue.
- Apply the adhesive evenly across the clean surface.
- Press the sole flat against the upper boot.
- Using the clamp or duct tape, hold the sole to the upper boot tightly.
- Leave the boot overnight to allow the glue to cure completely.
Conclusion
Field repairs should not be considered a permanent fix. At best, a field repair for any hiking boot damage should only buy you enough time to find a better fix or replace your hiking boots completely.
If you feel that your hiking boots are no longer up to scratch, don’t hesitate to throw them out and buy a new pair. It’s always better to err on the side of caution when hiking.
Have a safe and great hike!