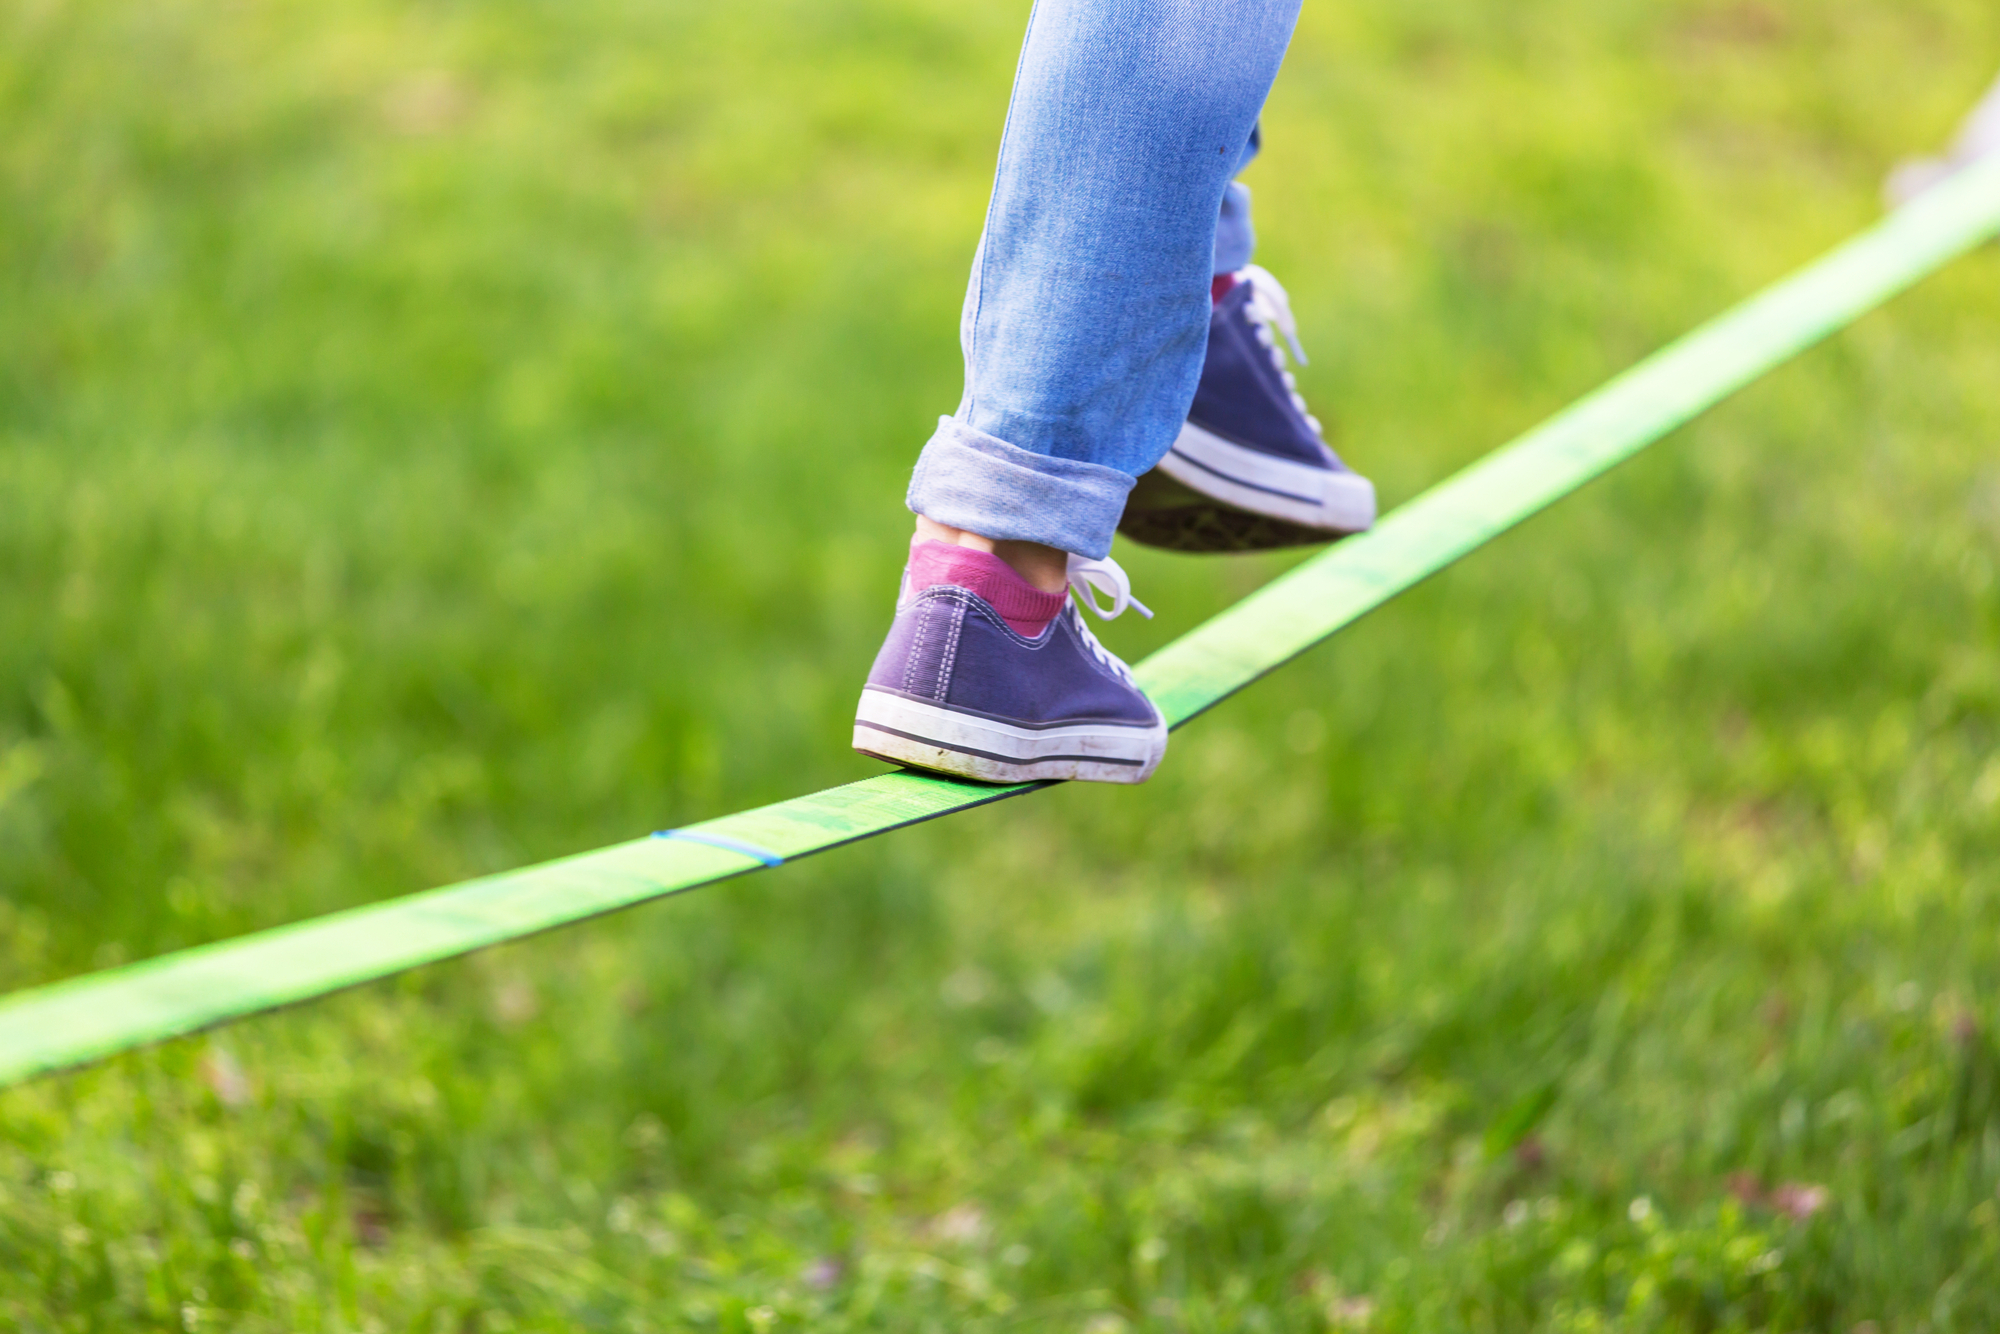
Slacklining is a delicate balancing act…in more ways than one. Not only are you trying to cross a thin line (called a “webbing”) while keeping your body upright, but you also have to consider the forces affecting the webbing as you move above it.
For slackliners, finding the right amount of tension in the webbing is critical for safety and crossing the line successfully.
If you want to keep slacklining safely, you need to understand how physics affects the webbing during the activity especially if you plan to perform advanced slacklining moves.
Let's tackle everything about slackline tension here!
Why Does Slackline Tension Matter?
In slacklining, tension matters because the amount of tension will dictate how much give a slackline has.
For beginners, the normal slackline has a tension of 50-200 daN and a length of around 8-10m.
There will be no give at all if the slackline is too short (i.e., less than 5m). This will make it very difficult for the slackliner to balance and correct their body while slacklining.
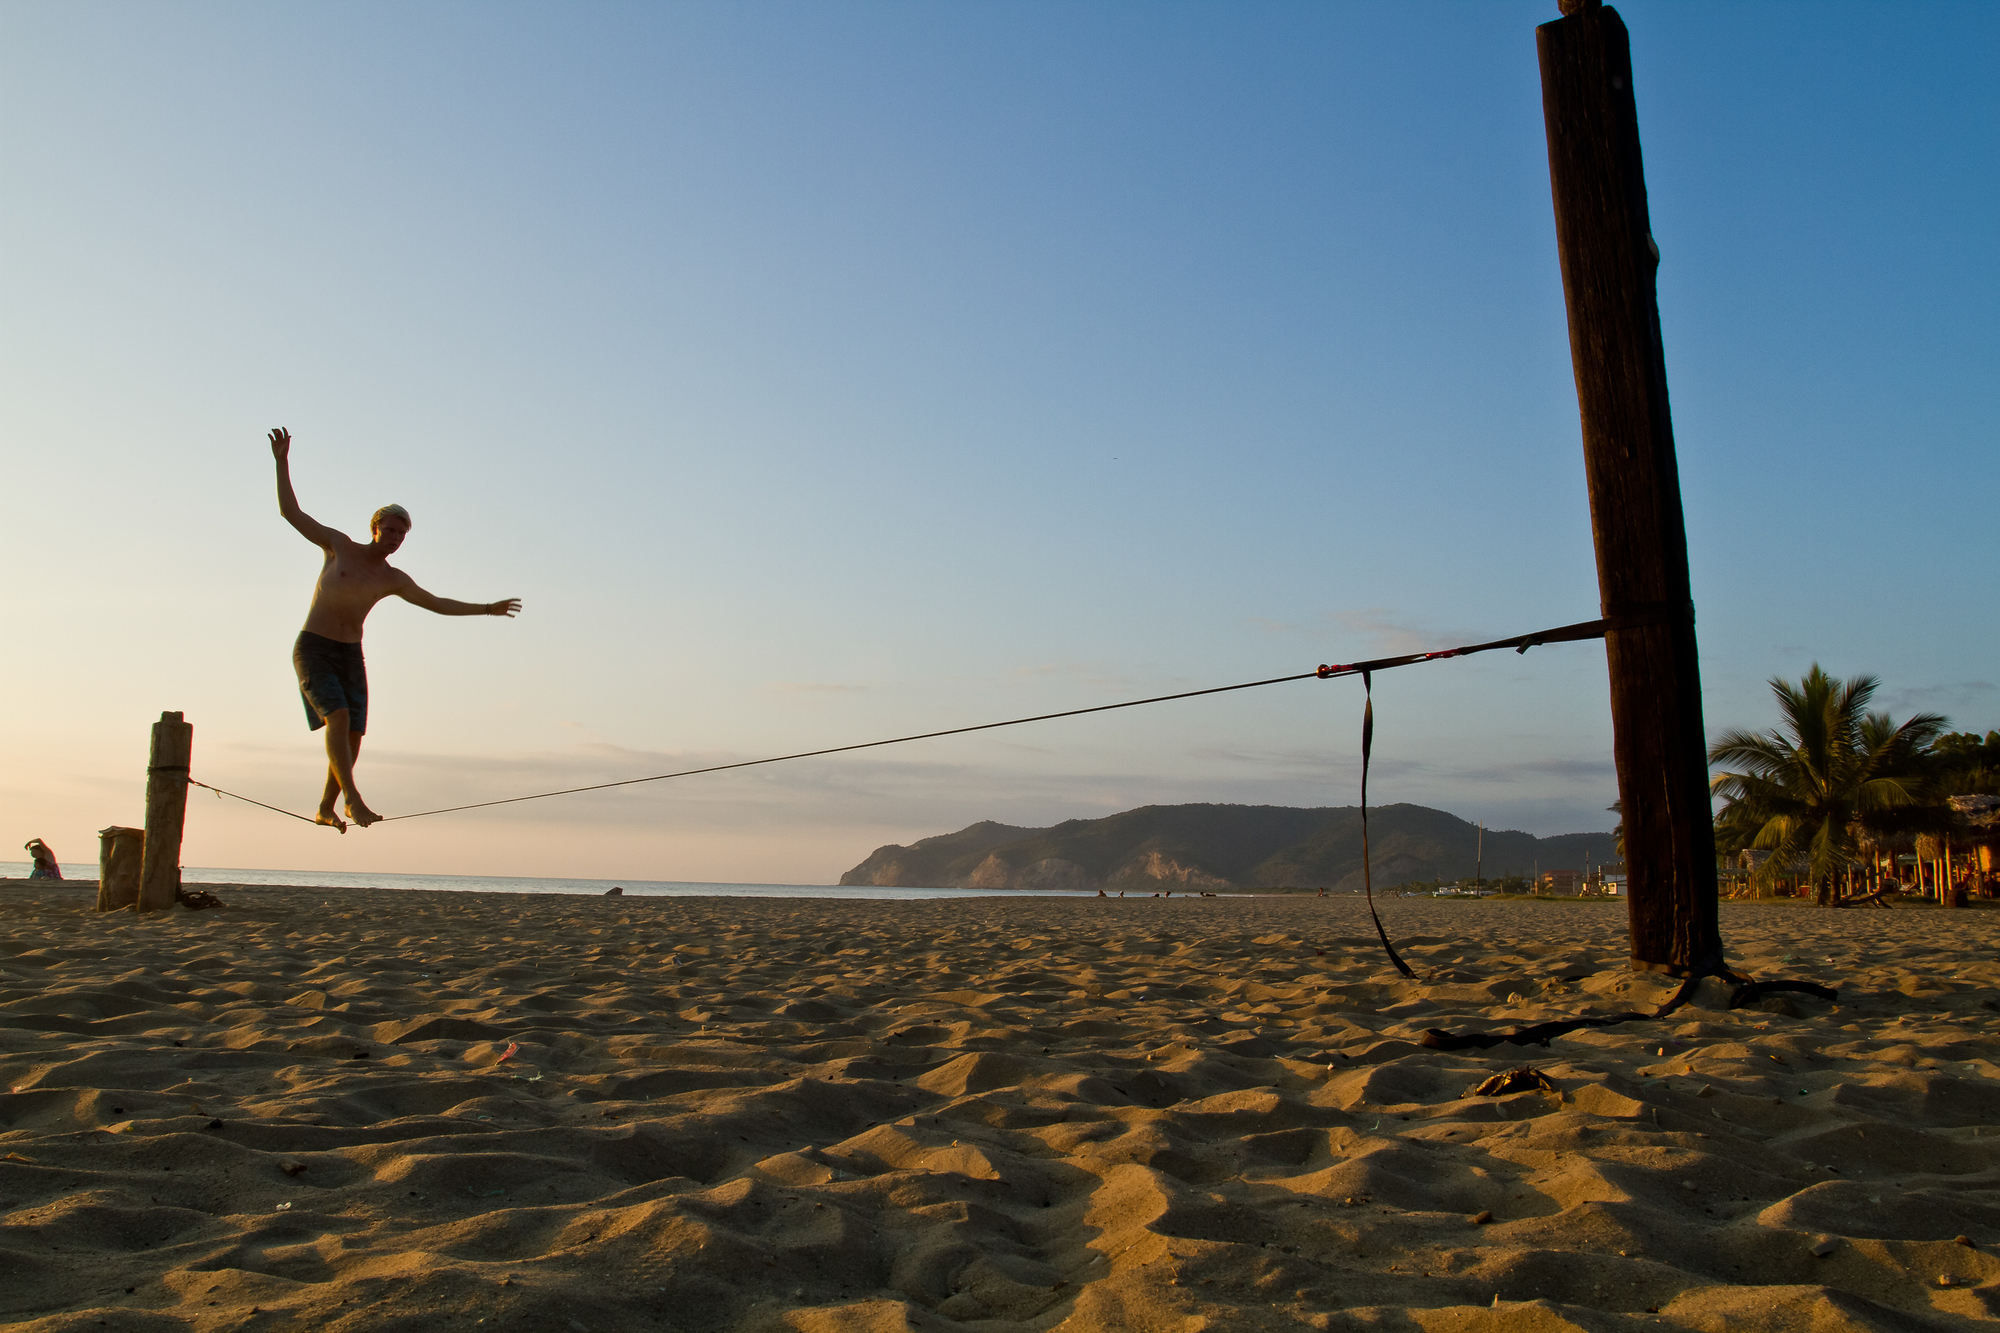
In contrast, longer slacklines have much deeper “gives,” particularly around the middle.
Only advanced slackliners should attempt longer slacklines because the low amount of tension requires a higher balance and motor coordination level.
For more information, you can check out our article on how long your slackline should be.
How to Calculate Slackline Forces
In order to understand the physics behind slacklining, you have to know what “forces” mean. In physics, forces refer to the push and pull of an object as it interacts with another.
For slacklining, this means the interaction between your foot's downward movement against the webbing's surface.
Force is measured in kiloNewtons (kN) or decaNewtons (daN), with 1kg of an object’s mass requiring 0.01 kN or 1 daN of force to interact with another object.
This means that when a 90kg slackliner is moving along the surface of the webbing, there is a corresponding force of 0.9 kN or 9 daN being exerted on the line.
Load Capacity vs. Breaking Load
Now that you can approximate the force that you are putting on your slackline and the average tension range of a slackline, why does it all matter?
It matters because you need to be aware of your slackline’s load capacity and breaking load, especially if you are slacklining at dangerous heights.
Commercial slacklines display both the load capacity and breaking load specifications so that slackliners can choose the right specification for their weight.
Load capacity refers to the weight load that a slackline can tolerate. Most commercial slacklines are rated for up to 300 lbs load capacity.
If a slackline is not tensioned properly, it will not be able to bear the load capacity properly and might snap even under lighter loads.
Breaking load refers to the maximum weight load a slackline can bear before it breaks. The webbing material of a slackline will determine the breaking load; nylon webbings are typically stronger than polyester webbings.
You may also notice that slacklines have a safety factor. This number indicates how much a slackline’s breaking load can exceed the load capacity in a safe manner.
For example, a slackline with a load capacity of 300kg and a safety factor of 7 means that it has a breaking load of 2100 kg.
This means that a 90kg slackliner can safely use this slackline since it is impossible to reach that breaking load under normal circumstances.
How Would You Use Slackline Tension?

For casual slackliners, slackline tension will ultimately matter for safety. You probably won’t need to perform complicated mathematical equations when tensioning a slackline since commercial kits are easy to set up.
As long as you follow the instructions correctly, you will be able to produce a slackline with the right amount of tension.
However, slackline tension is critical for advanced slackliners since you’ll be working with longer lines or higher locations. Calculating tension is important for longlines or tricklines since you’ll be rigging up a slackline outside of the basic slackline setup.
You will need to know the exact amount of tension to cross the slackline safely, as well as perform jumps and other stunts.
Luckily, you won’t need to do the calculations manually. You can use an online slackline tension calculator to do all the heavy lifting for you.
How to Tension a Slackline
You can tension a slackline using two anchor slings, two chainlinks, four carabiners, and your webbing. The easiest way to tension a slackline is known as a primitive slackline and you can easily set it up between two trees at least 7 meters apart.
You should also use padded material to wrap around the trunk for protection against the friction of the slackline.
After wrapping the padding around the trunks and securing them, wrap an anchor sling around each trunk. Secure each anchor sling to the corresponding trunk using a carabiner.
Next, thread the webbing twice through the line locker found on one of the anchor slings and clip the open ends with a carabiner. This is your downside.
Install the second line locker on the other anchor sling, again threading the webbing twice before using a carabiner to lock the thread. This is your upper side.
Run the webbing through the anchor carabiner on your downside, then through the locker carabiner on your upper side. Wrap the webbing through the first layer to create a more stable anchor point.
Pull the webbing to create pre-tension on your line. The middle of your slackline should not touch the ground, but do not make the line too taut.
There should be some give in the middle of your webbing line.
Now you’re ready to go slacklining!
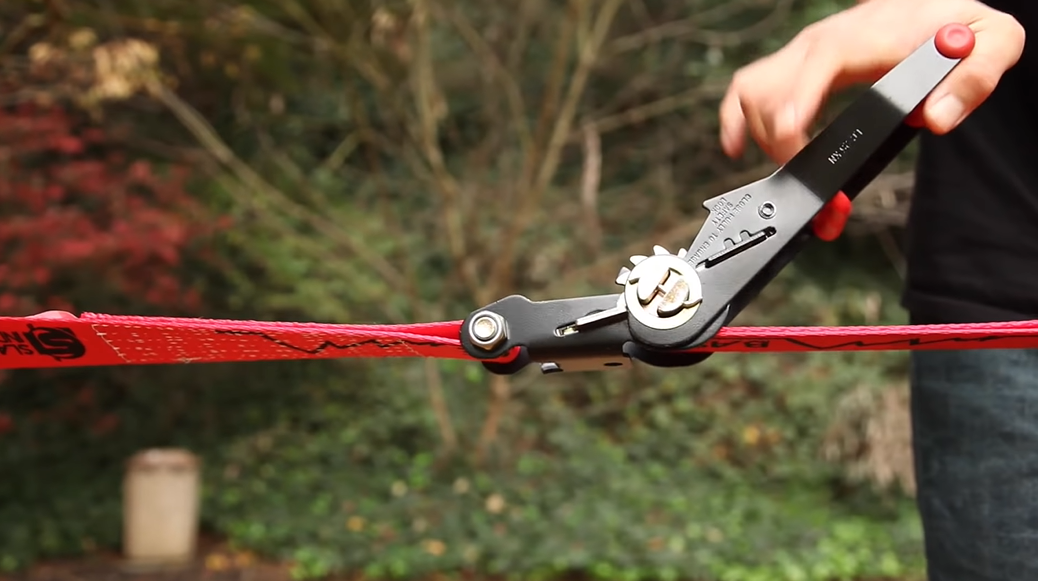
The Ratchet: An Easy Way To Tension a Slackline
If you don’t want to bother learning how to tie a primitive slackline, you can invest in a ratchet.
A ratchet is a simple metal mechanism that allows you to easily change the tension of your webbing. You can find ratchets online and in sporting goods stores.
A ratchet uses a mechanical lever to increase the tension force in your slackline. It is a great tool for those who want to increase tension above the recommended levels since it can be harder to pull the webbing manually.
This tool is ideal for basic slackline kits that are at least 20 m long, tricklines, or longlines.
Pros
- Easy to use
- Cheap
Cons
- Tension cannot be decreased quickly
- Can only be used for longer slacklines
FAQs

How do I increase the tension in my slackline?
If you want to increase the tension in your slackline, you can use a multiplier. You can create a multiplier using a clove hitch, using another carabiner to lock the hitch.
Take the webbing through the anchor biner on your downside and through the multiplier carabiner.
Repeat the process as necessary until you find the right tension for your slackline.
Can a slackline be too tight?
Yes, a slackline can be too tight! By definition, a slackline must have some slack in the middle. If the slackline is too tight, it will be difficult to move into an upright position once you climb on the line.
When should I experiment with slackline tension?
Over time, you may want to change up the tension in your slackline to give yourself a more challenging time.
Increasing the tension gives you a slackline with similar conditions to a longline. Decreasing the tension allows you to perform tricks and stunts.
You should only experiment with slackline tension once you are comfortable with the fundamentals of slacklining.
Conclusion
As a responsible slackliner, you should be familiar with slackline tension and its effect on your experience. Make sure to follow the recommended tension and setup process for commercial slacklines to get the best results.
Once you have the basics down, you can start playing with slackline tension to improve your experience and challenge yourself.
Enjoy slacklining!